Making 3D Model Decals with a UV Inkjet Printer/Cutter
From scale models of airplanes, cars, and buildings to fictional character models such as robots, decals are an essential item to give your plastic model a more realistic look. In addition to the decal sheets that come with a model kit, custom decals are also available for users who want to customize their products.
UV-Printed Three-dimensional Decals
Typical model decals use water transfer sheets and are mainly printed using silk screen printing.
With UV ink, however, you can not only print in vivid full color, but also create a three-dimensional effect by applying thick layers of clear ink. By combining clear layered printing and color printing, it is possible to create decals with designs that are difficult to express with paint, such as mold-like 3D textures and patterns.
There is also a business that uses UV printing to produce realistic decals with a 3D effects that is attracting the attention of model fans.
User Case Story
The Pursuit of Accurate Detail is the Passion that Max Model Puts into the Decoration of Vehicle Models
https://d-bridge.rolanddg.com/en/casestudies/the-pursuit-of-accurate-detail-is-the-passion-that-max-model-puts-into-the-decoration-of-vehicle-models/
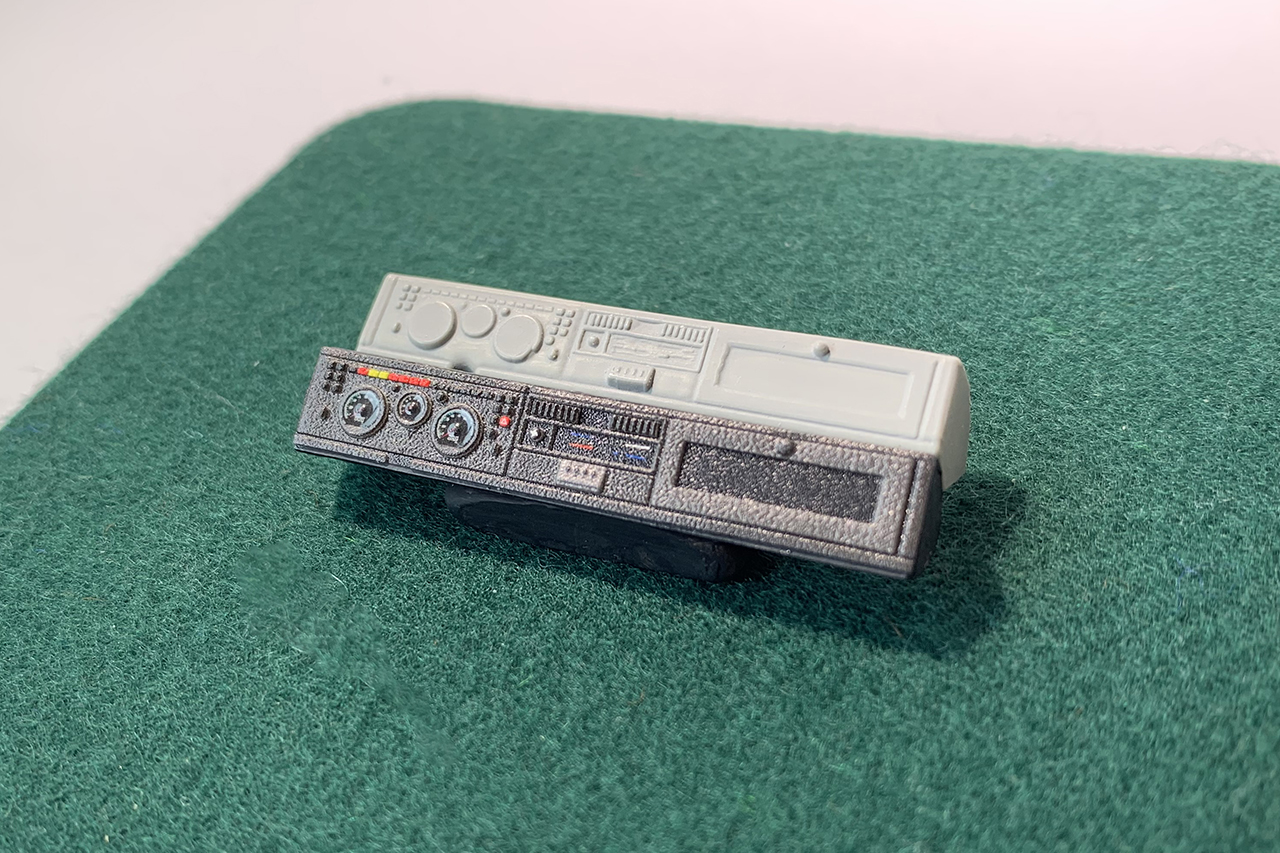
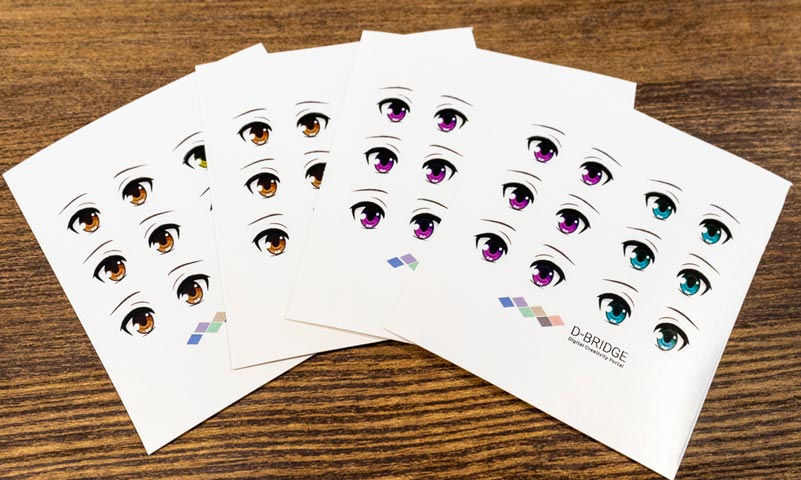
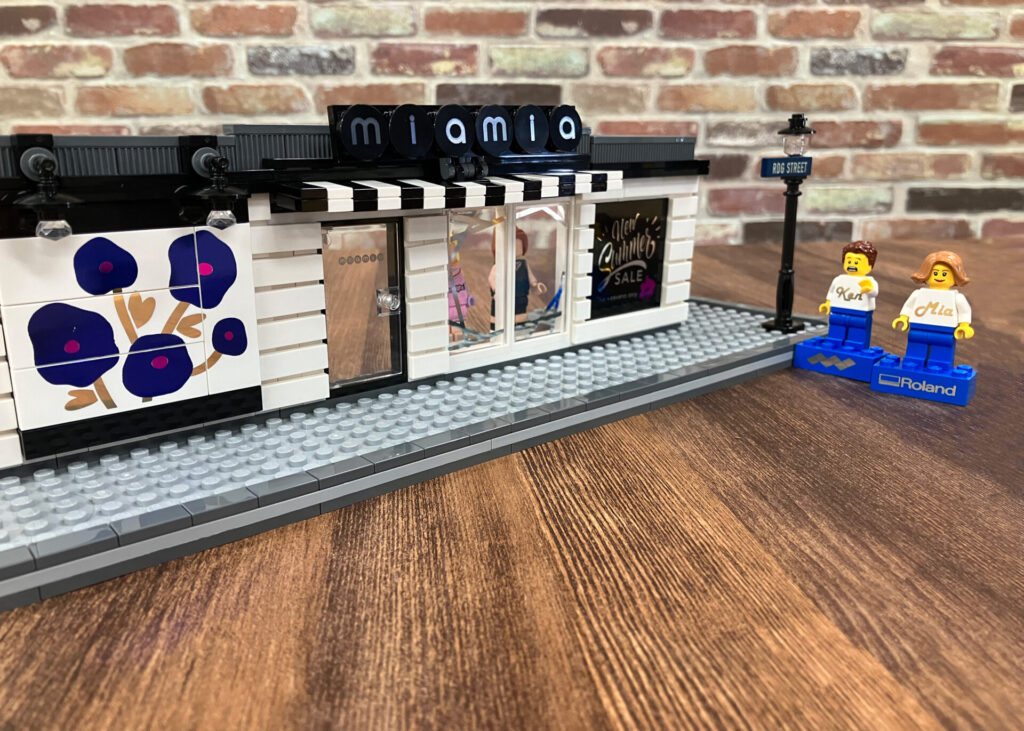
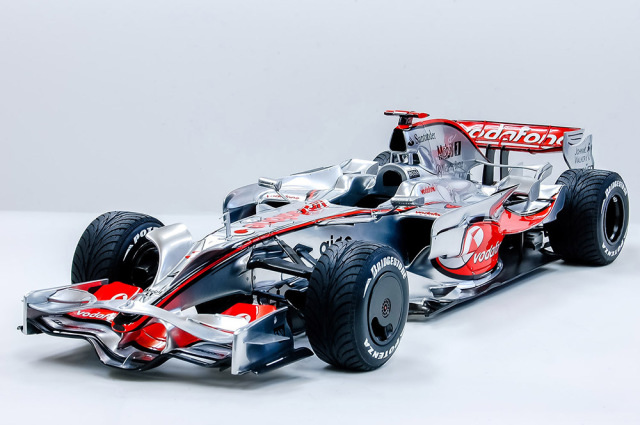
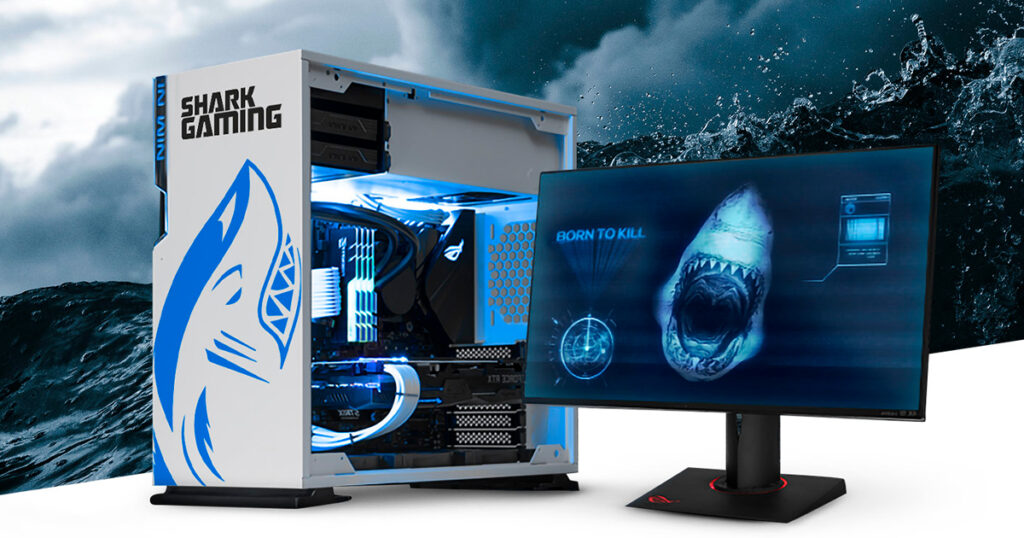
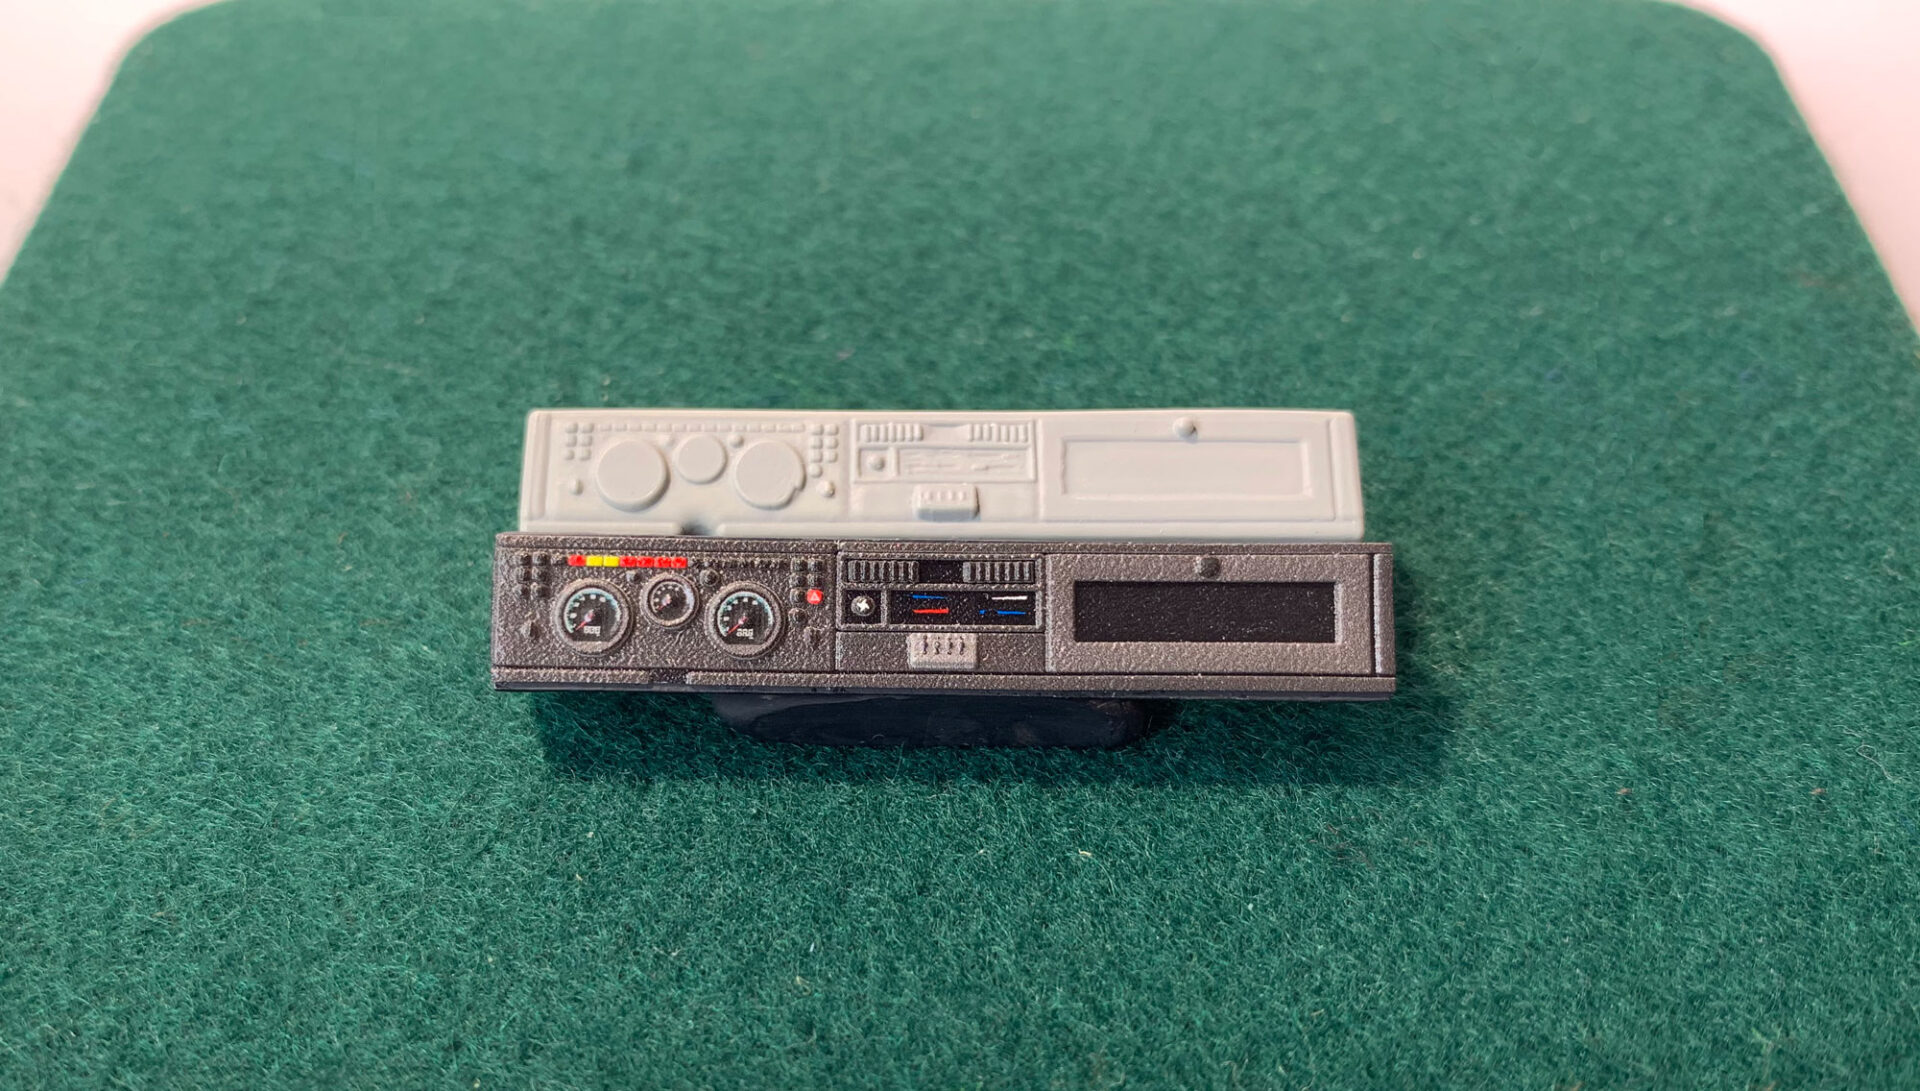
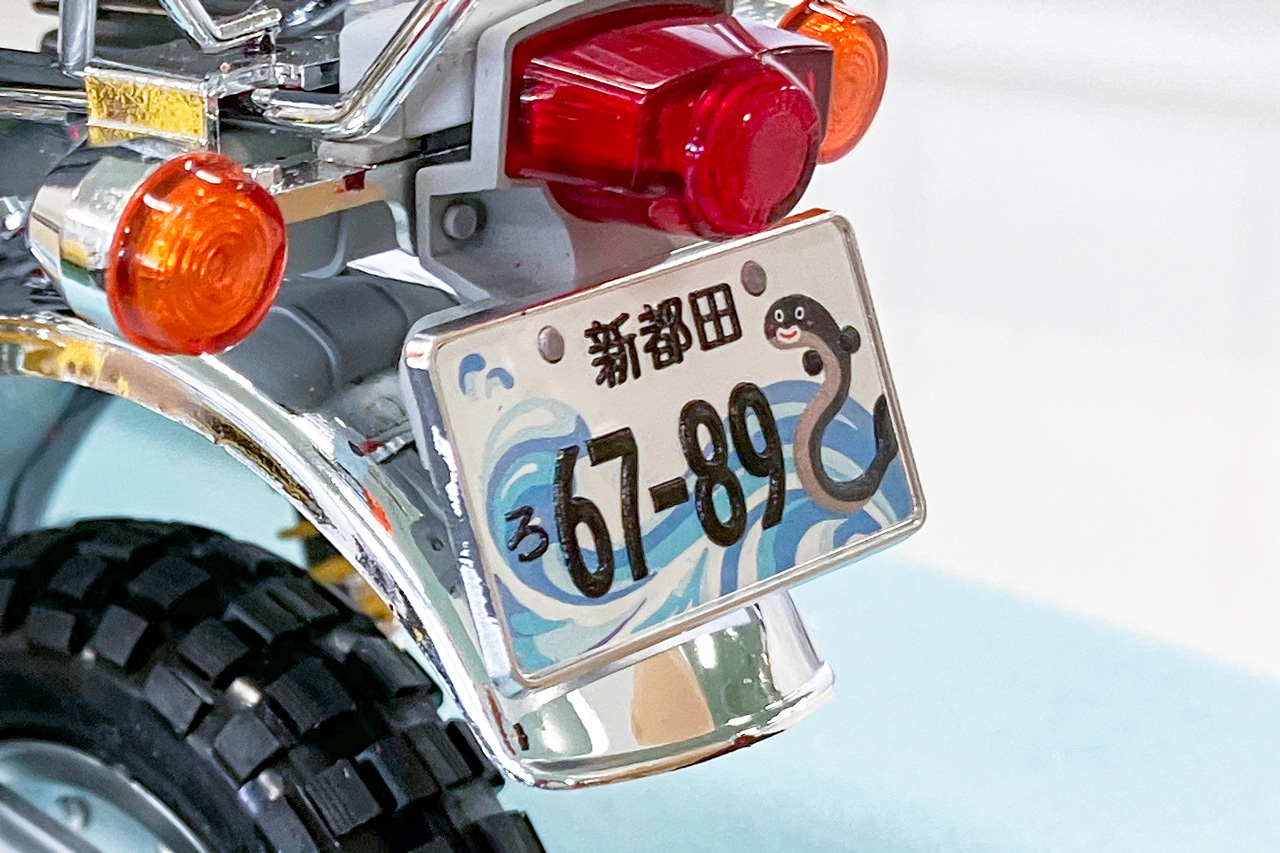
Examples of UV-printed decals

What you need
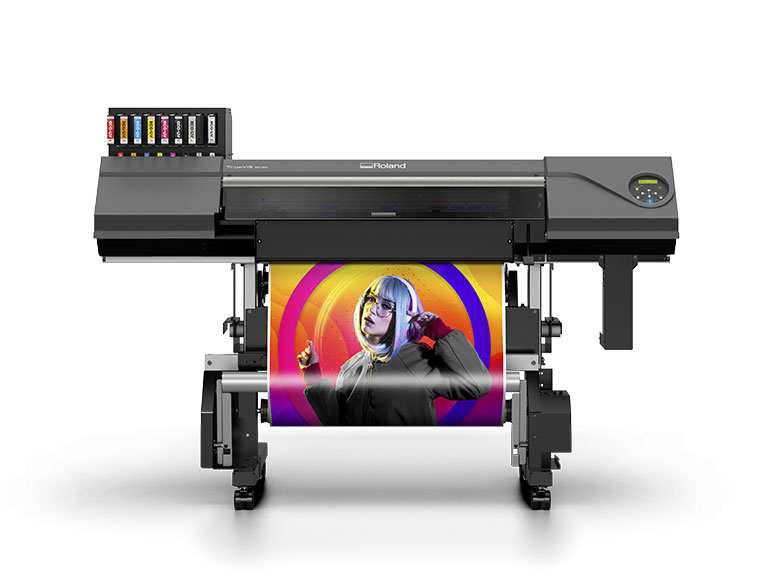
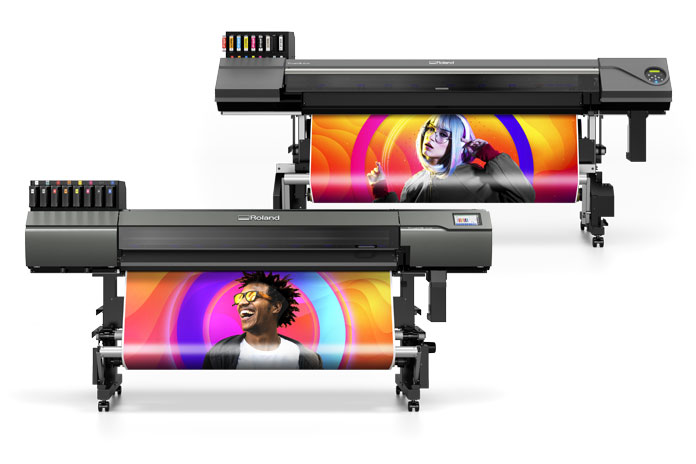
TrueVIS MG-300 UV inkjet printer/cutter (Ink type: EUV-5 CMYKWhWhGlGl)
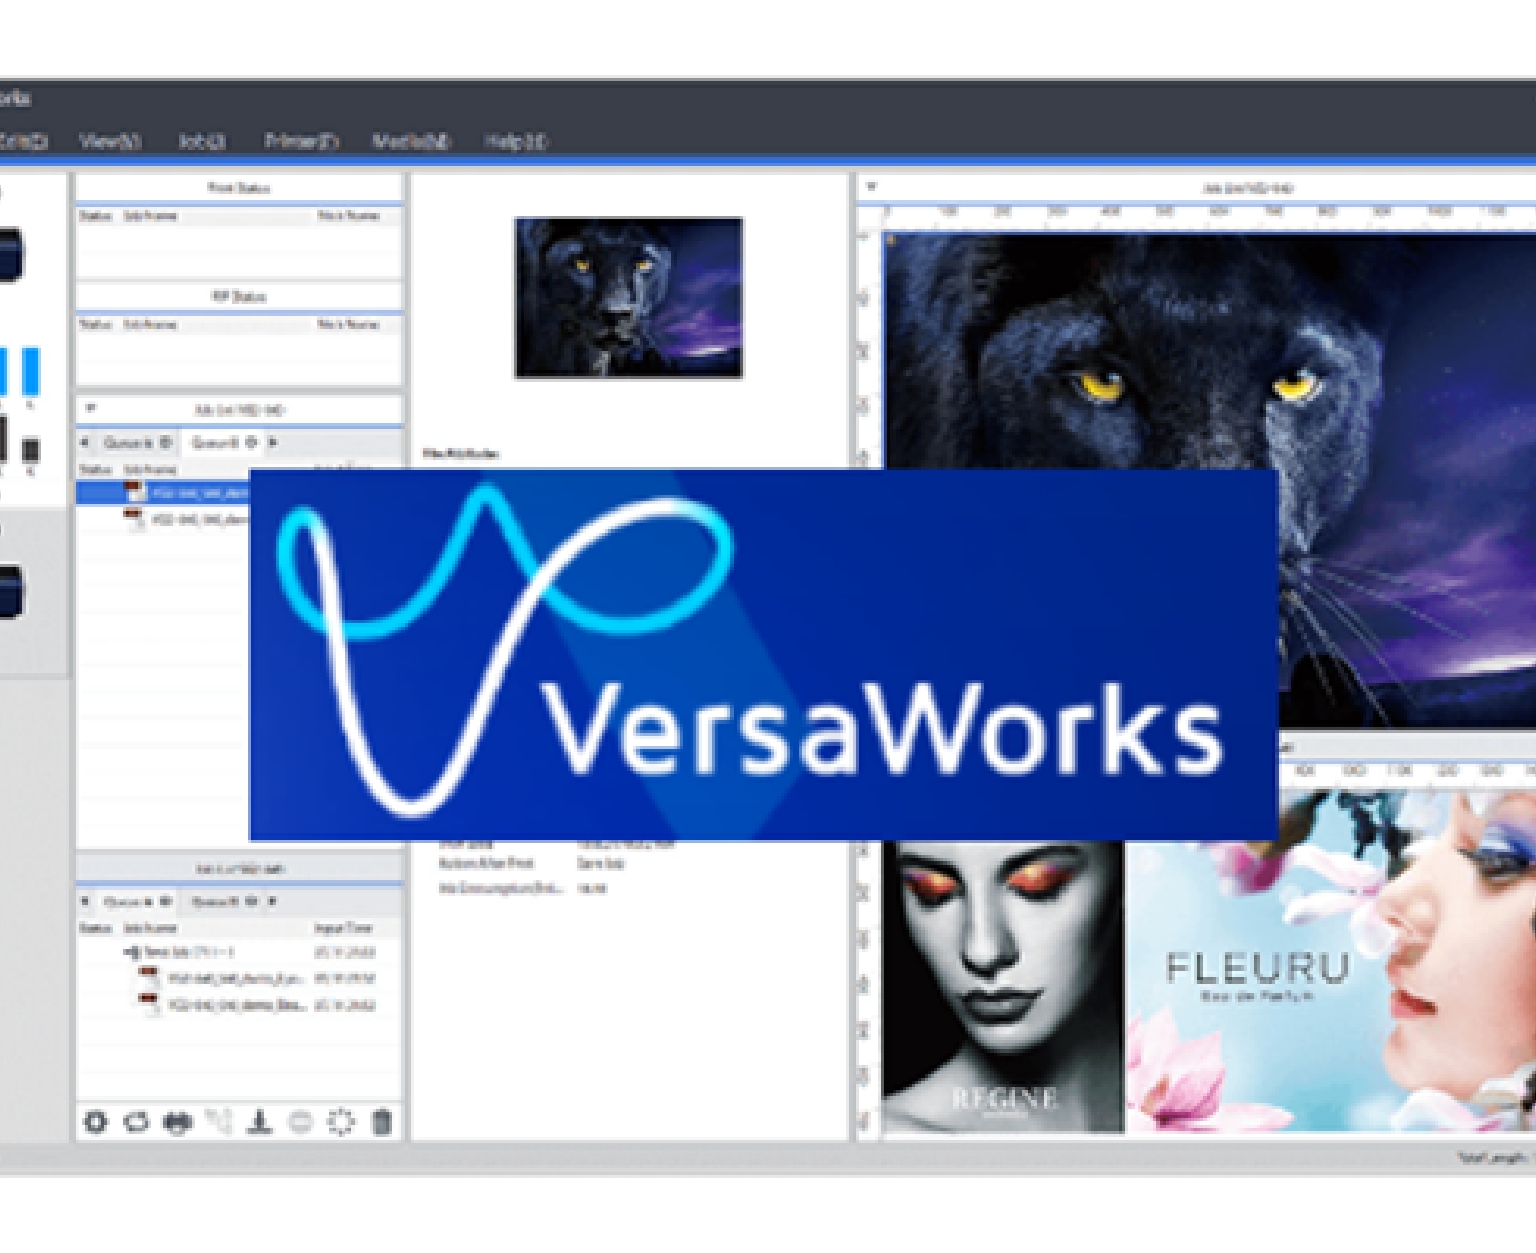
VersaWorks 6 RIP & Print Management Software(included with the MG-300)
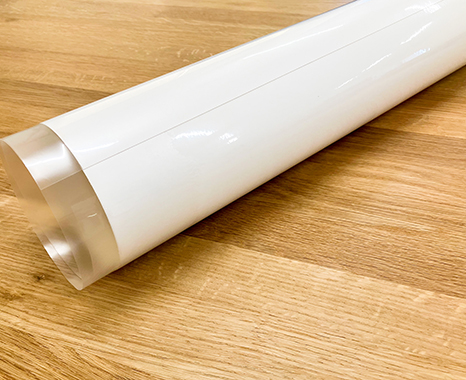
Decal sheet media
Design software such as Adobe Illustrator or CorelDRAW
Production Process
-
STEP1
Design data for color printing and cutting
Prepare design data according to the dimensions of the area where the decal will be pasted. Add a cutting line.

-
STEP2
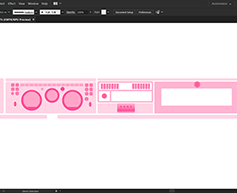
Design data for embossed and texture effects
Prepare the data for the area to be thickened with layered ink. The height difference is expressed by the shade of the ink.

-
STEP3
VersaWorks 6 configuration
Load the design data into VersaWorks and set the print settings such as image quality.

-
STEP4
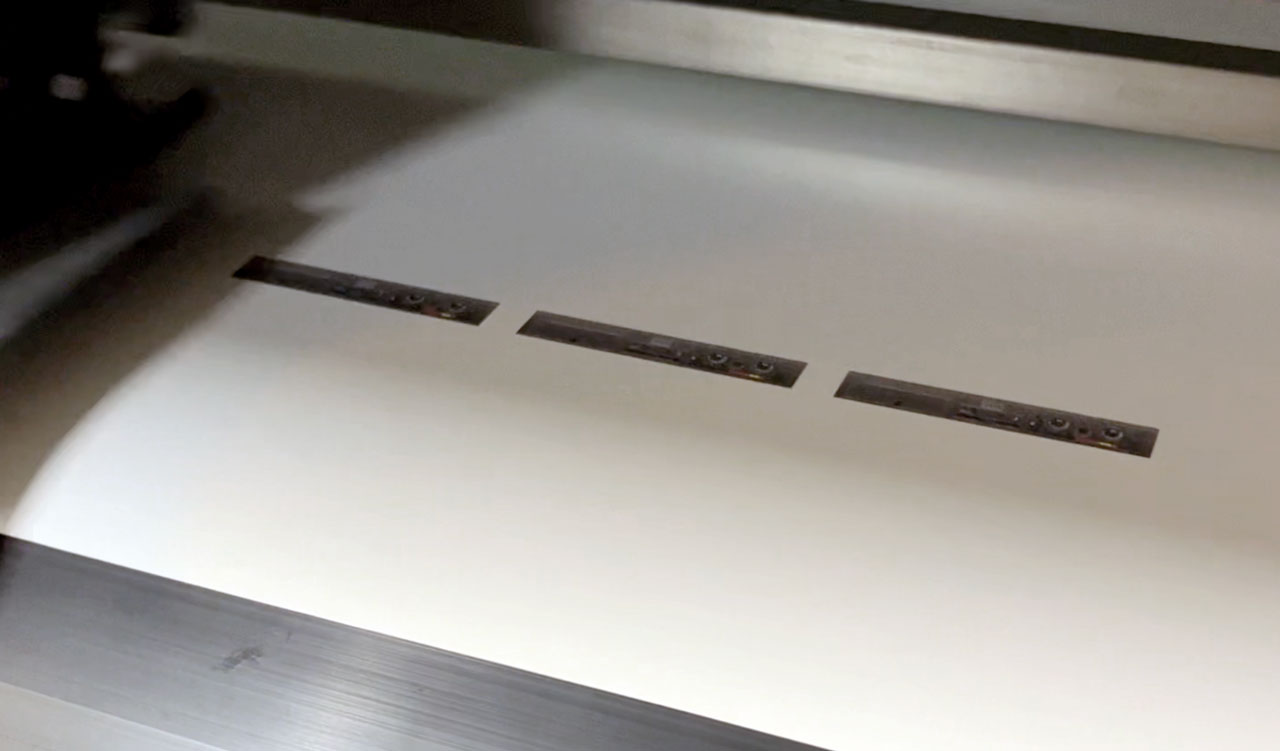
Print & Cut
Print and cut with an MG-300 UV inkjet printer/cutter.

