How to Quickly Produce a Variety of High-end, Foil-stamped Package Prototypes On Demand
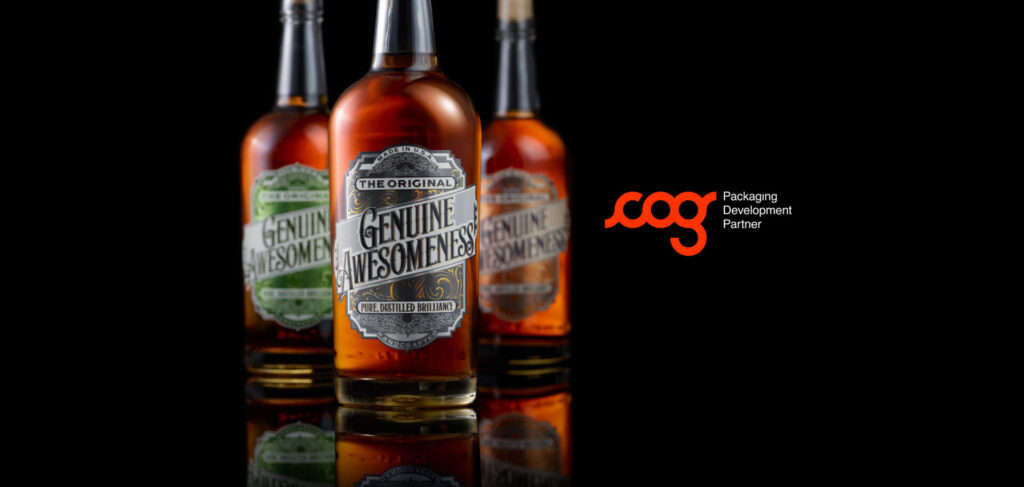
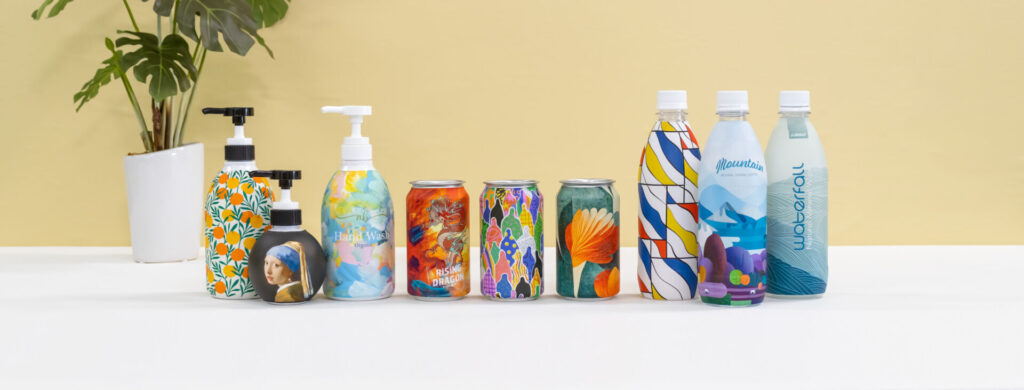
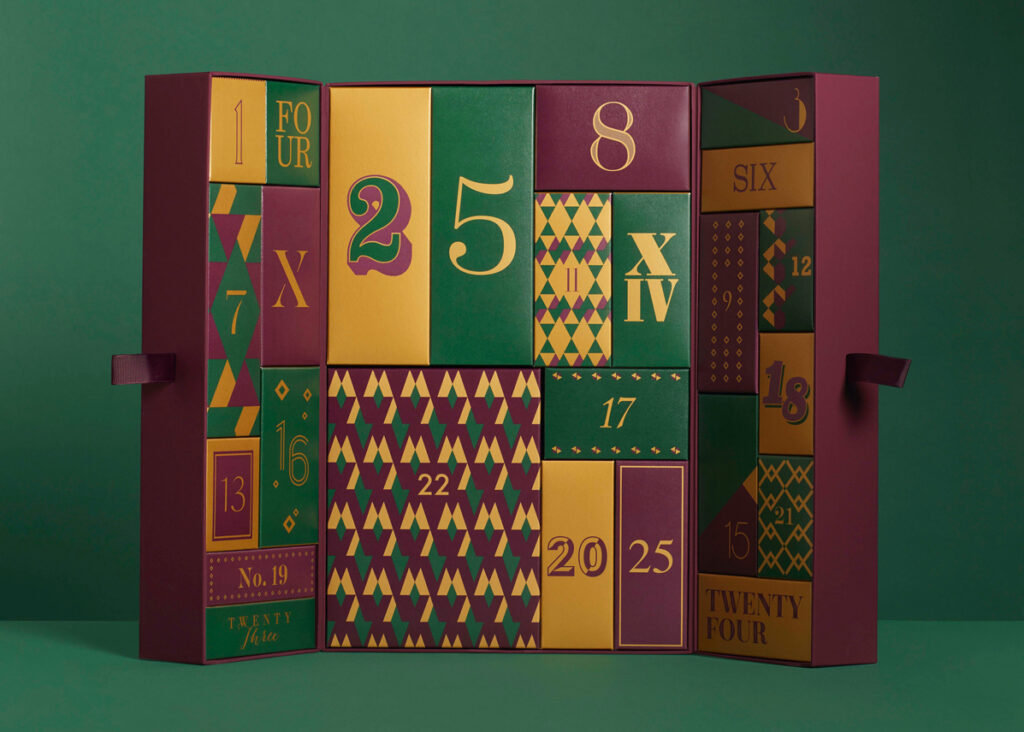
Product packaging design is vital in influencing consumer purchasing behavior, differentiating products from competitors, and product branding. In recent years, the demand for foil-stamped packaging has been increasing, as it is often used to create a sense of luxury and distinctiveness on packages for cosmetics, foods, daily necessities, and other products.
Conventional foil stamping, however, requires a plate-making process which is both costly and time-consuming. Because of that, it is not suitable for design proofing and prototyping because a wide variety of variations must be considered within a short delivery time.
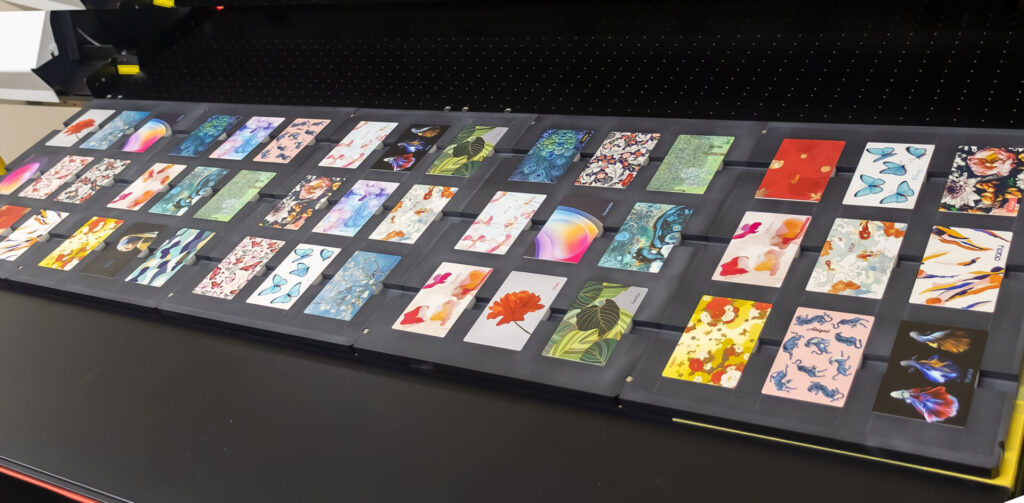
This article introduces prototype production using the MG-300 UV inkjet printer which offers a wide variety of expressive capabilities, including special printing effects such as embossing, and the LD-300 laser foil transfer printer, which enables on-demand foil printing. This digital solution eliminates the need for plate-making processes, enabling in-house production of a wide variety of packaging prototypes at a low cost and with short delivery times. In addition, it also allows consideration of various color schemes in the base layer and how effectively the embossing, spot foil, and textures work to attract customer attention, enabling brand owners and mock-up production companies, as well as printing companies, to develop high-value-added packaging.
Below is an example of the foil printing process on a package prototype.
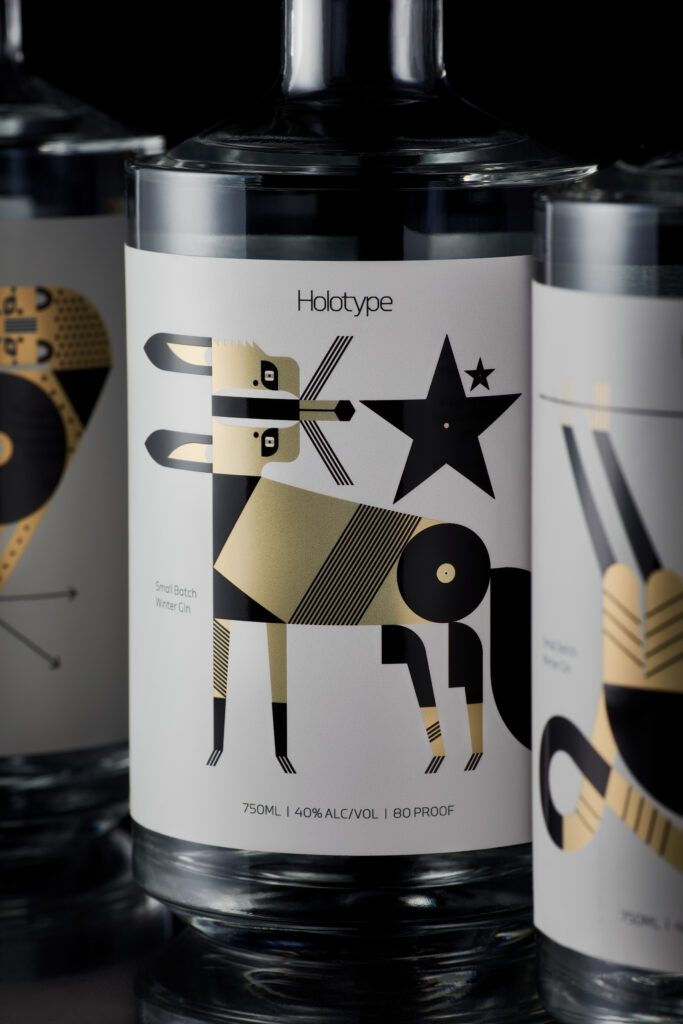
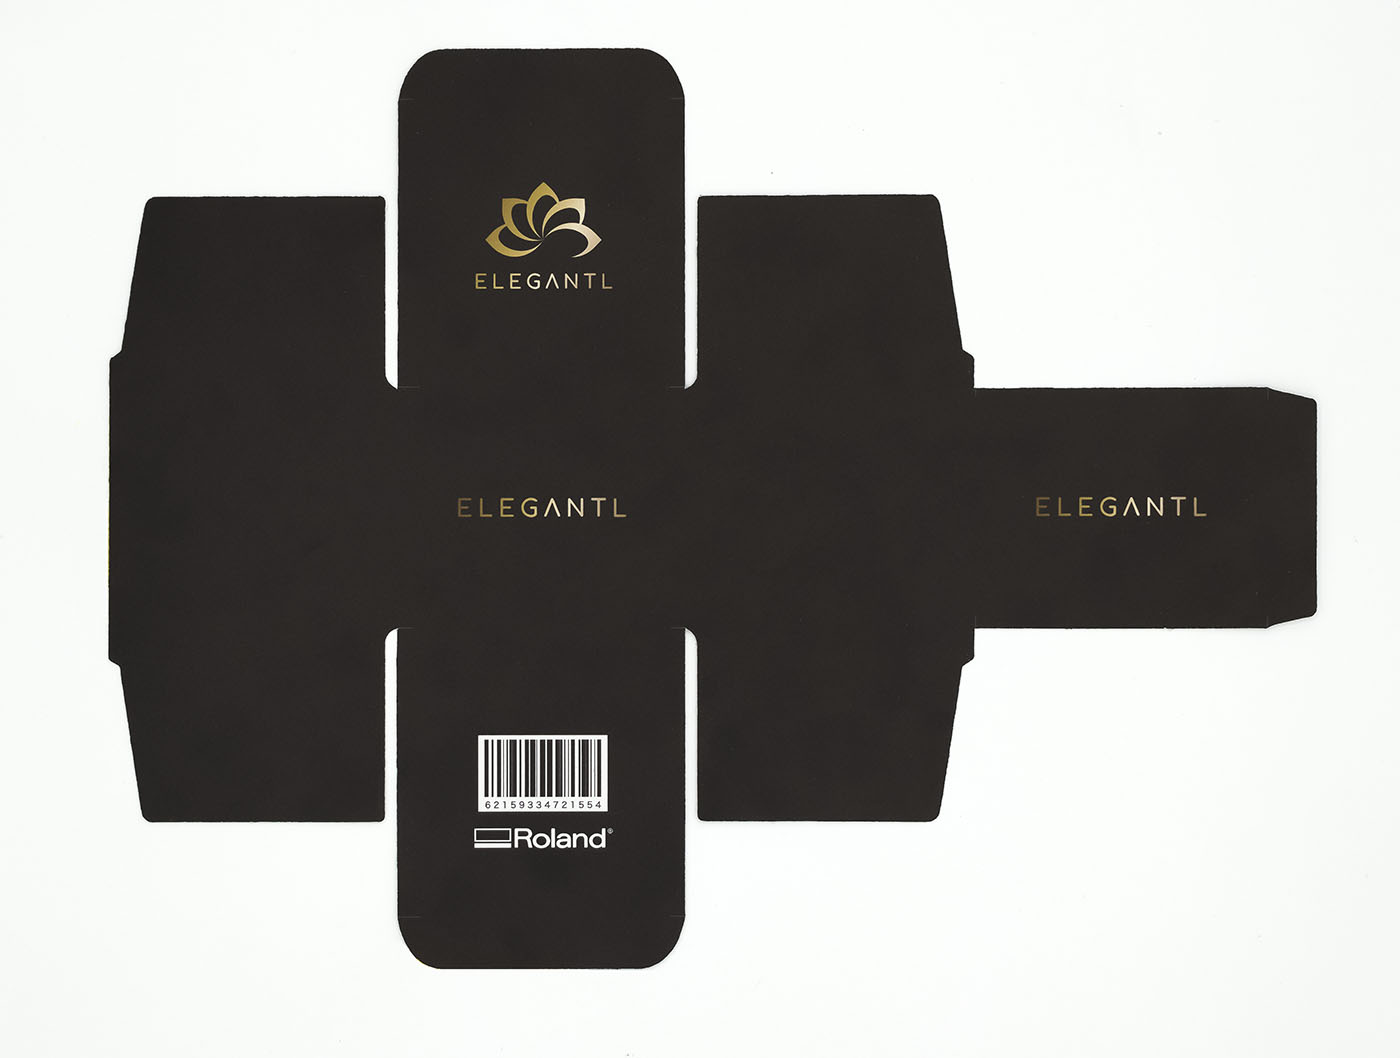
Pattern1
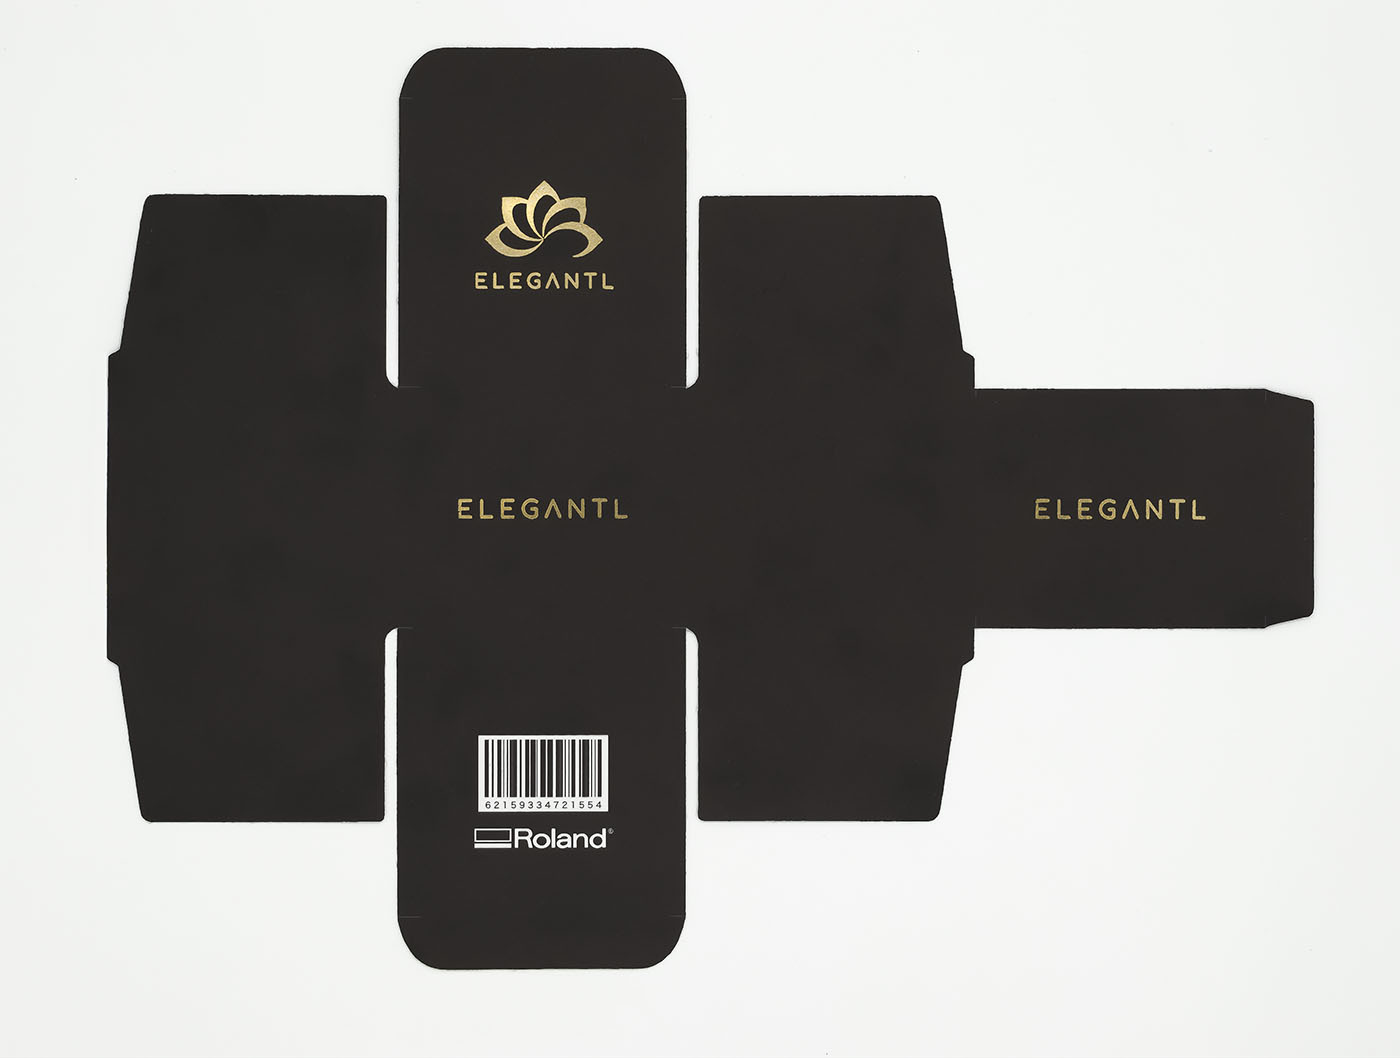
CMYKOrRe (base color in black) + foil (gold) on paperboard
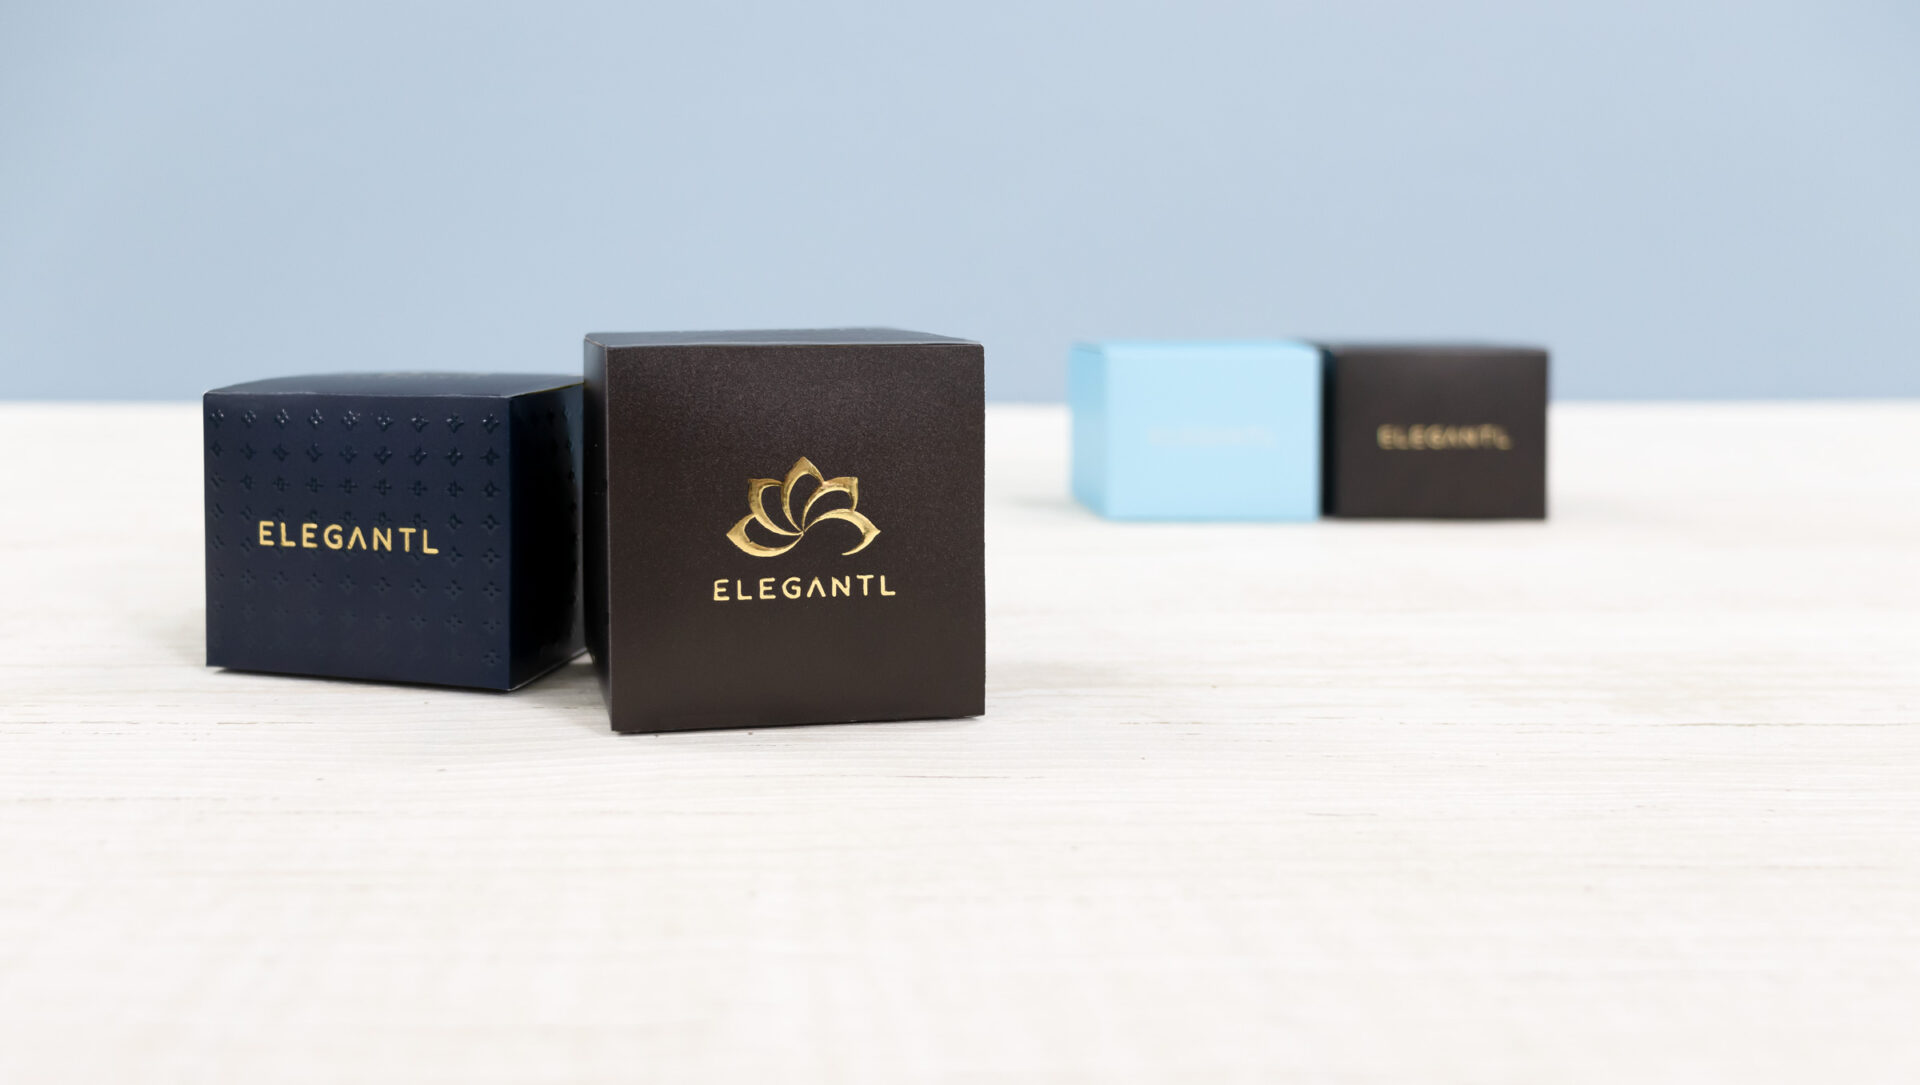
Pattern2

CMYKOrRe (base color in light blue) + foil (silver) on paperboard

Pattern3
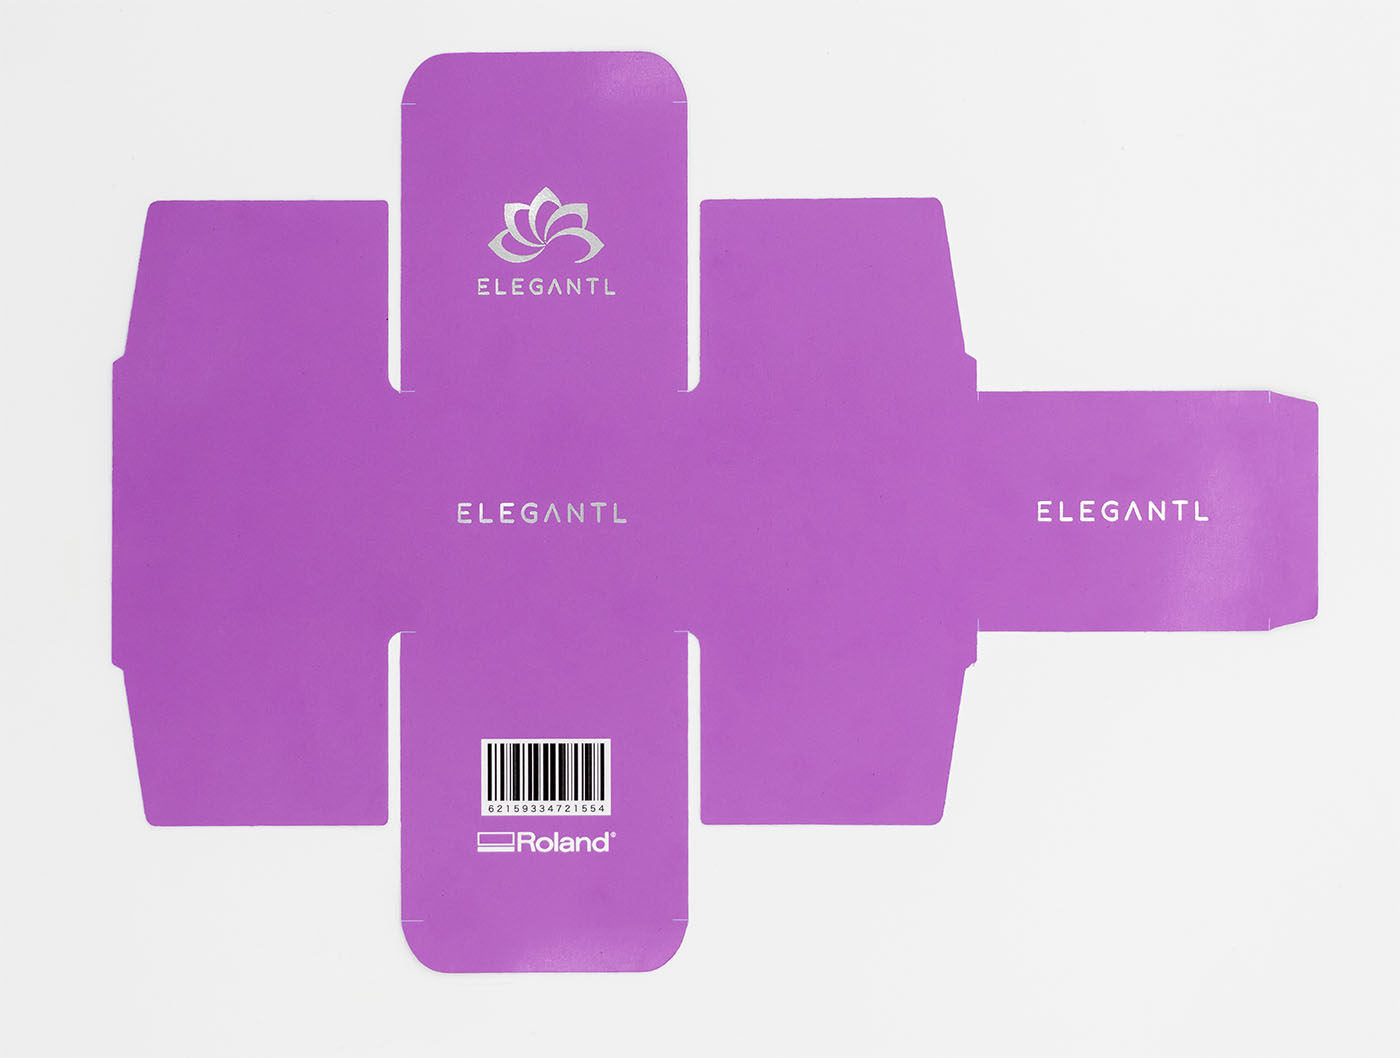
CMYKOrRe (base color in purple) + foil (matte silver) on paperboard

Pattern4

CMYKOrRe (base color in dark blue) + gloss varnish + foil (gold) on paperboard

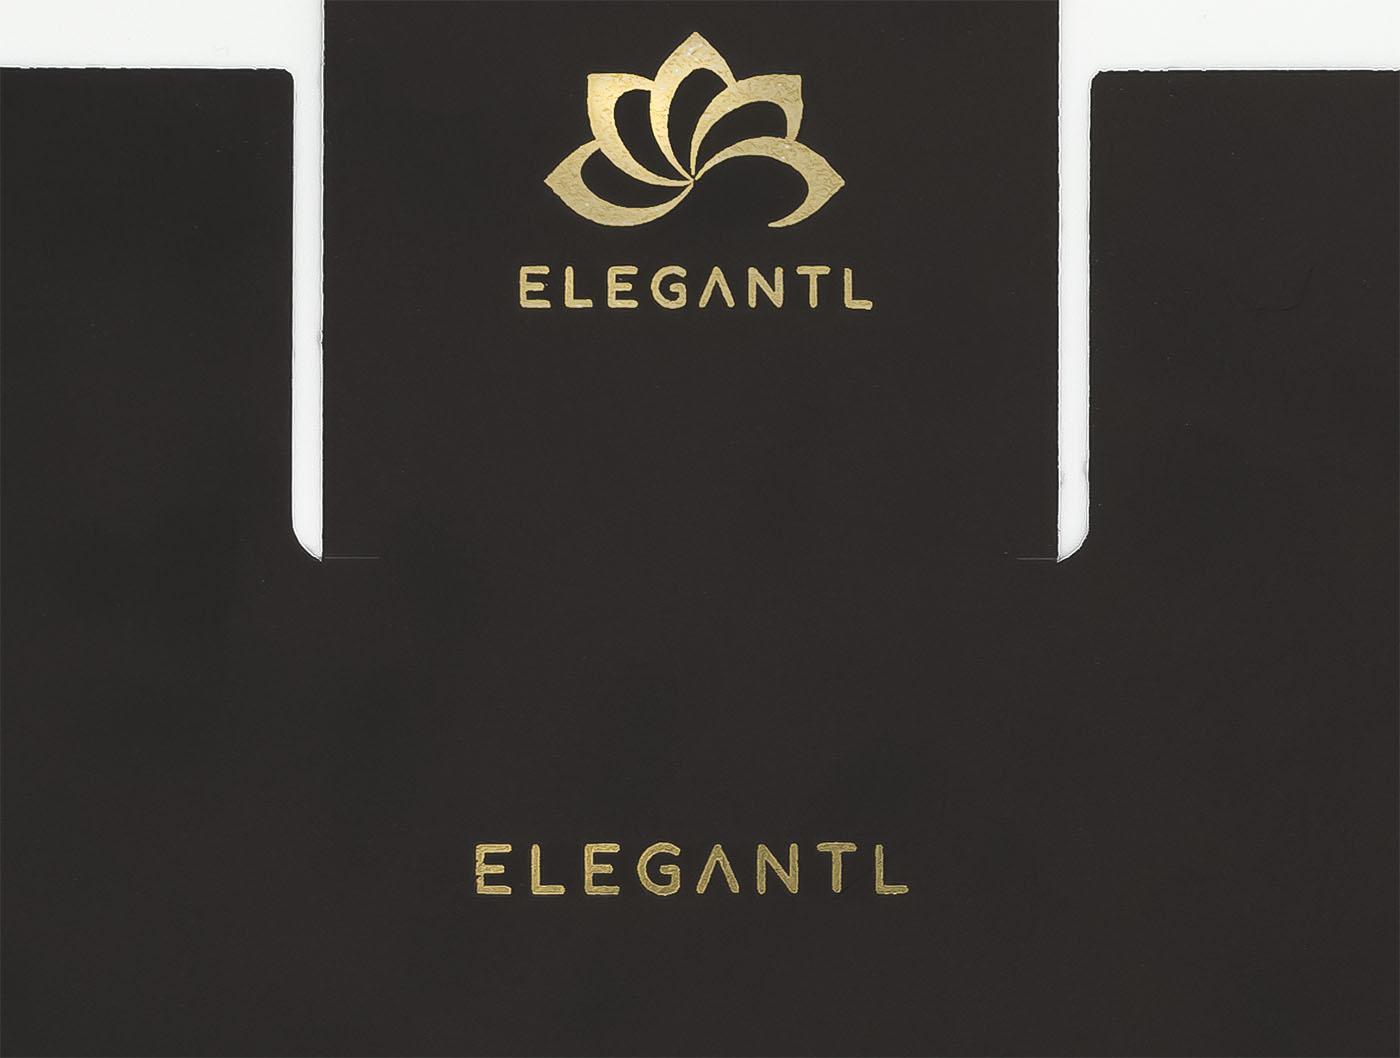
Pattern5

CMYKOrRe (base color in black) + Embossed gloss varnish + foil (gold) on paperboard

Pattern6
CMYKOrRe (base color in black) on paperboard without special effects

What you need
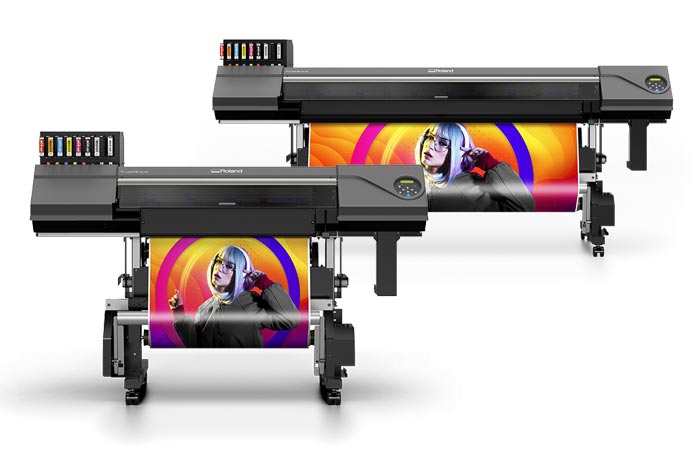
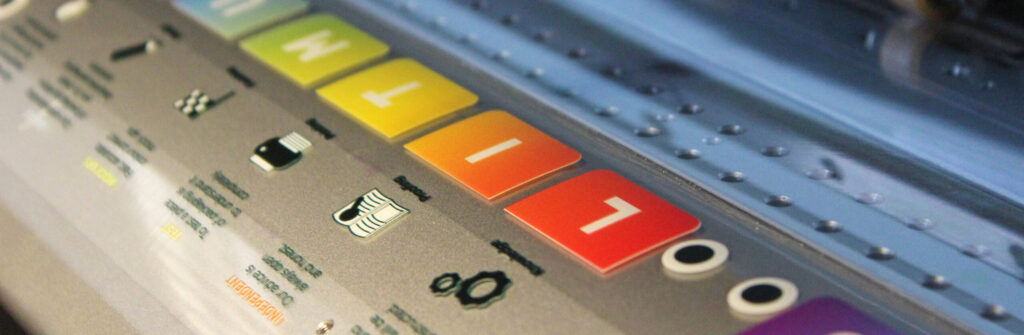
VersaUV MG-300 UV Inkjet Printer (printer/cutter) + ET-30 Extension Table
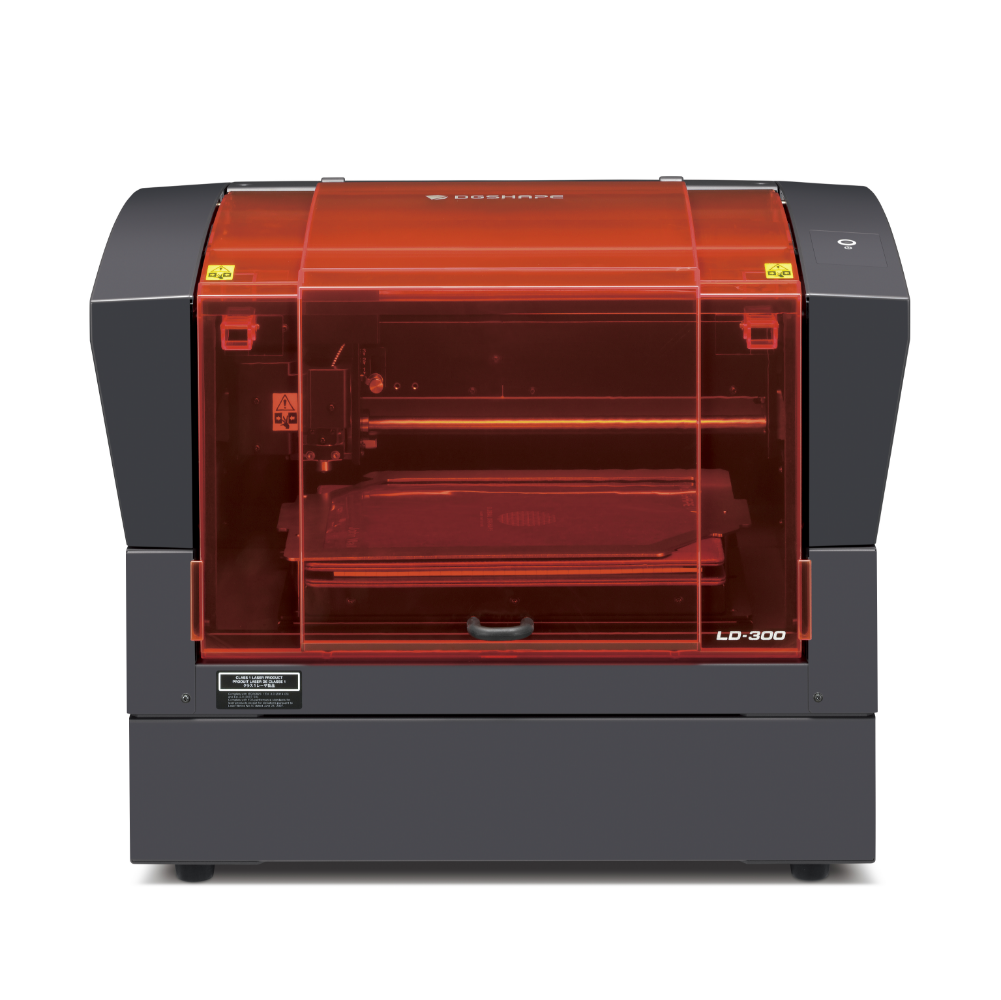
LD-300 Laser Decorator

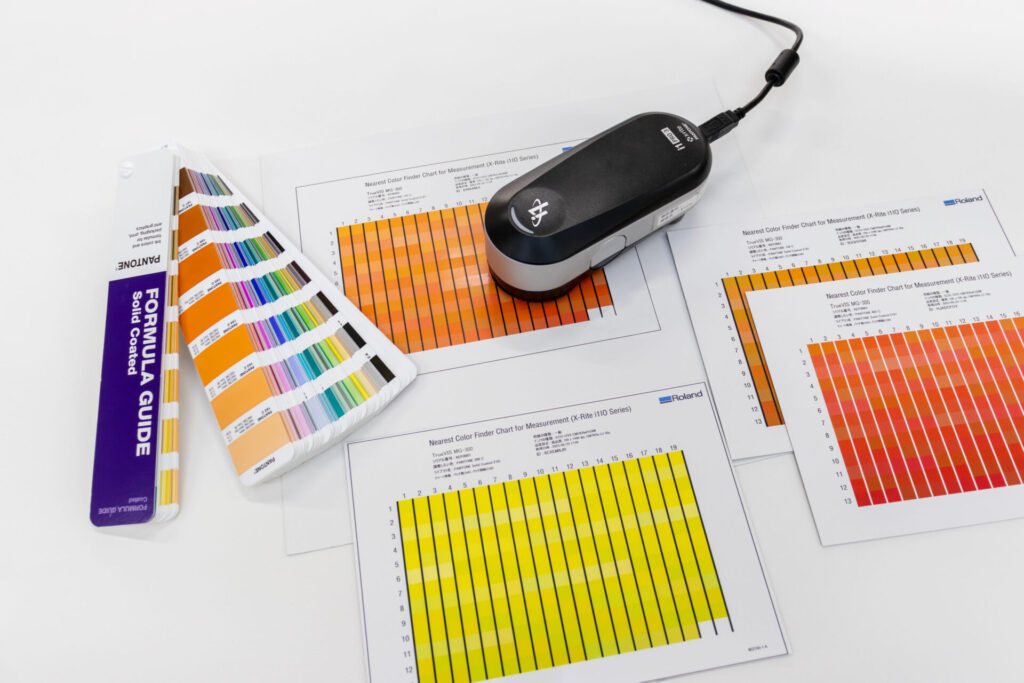
VersaWorks 6 RIP & Print Management Software(included with the MG-300)
DGSHAPE METAZAStudio Software (included with the LD series)
Design software such as Adobe Illustrator or CorelDRAW
Any label or packaging paper stock
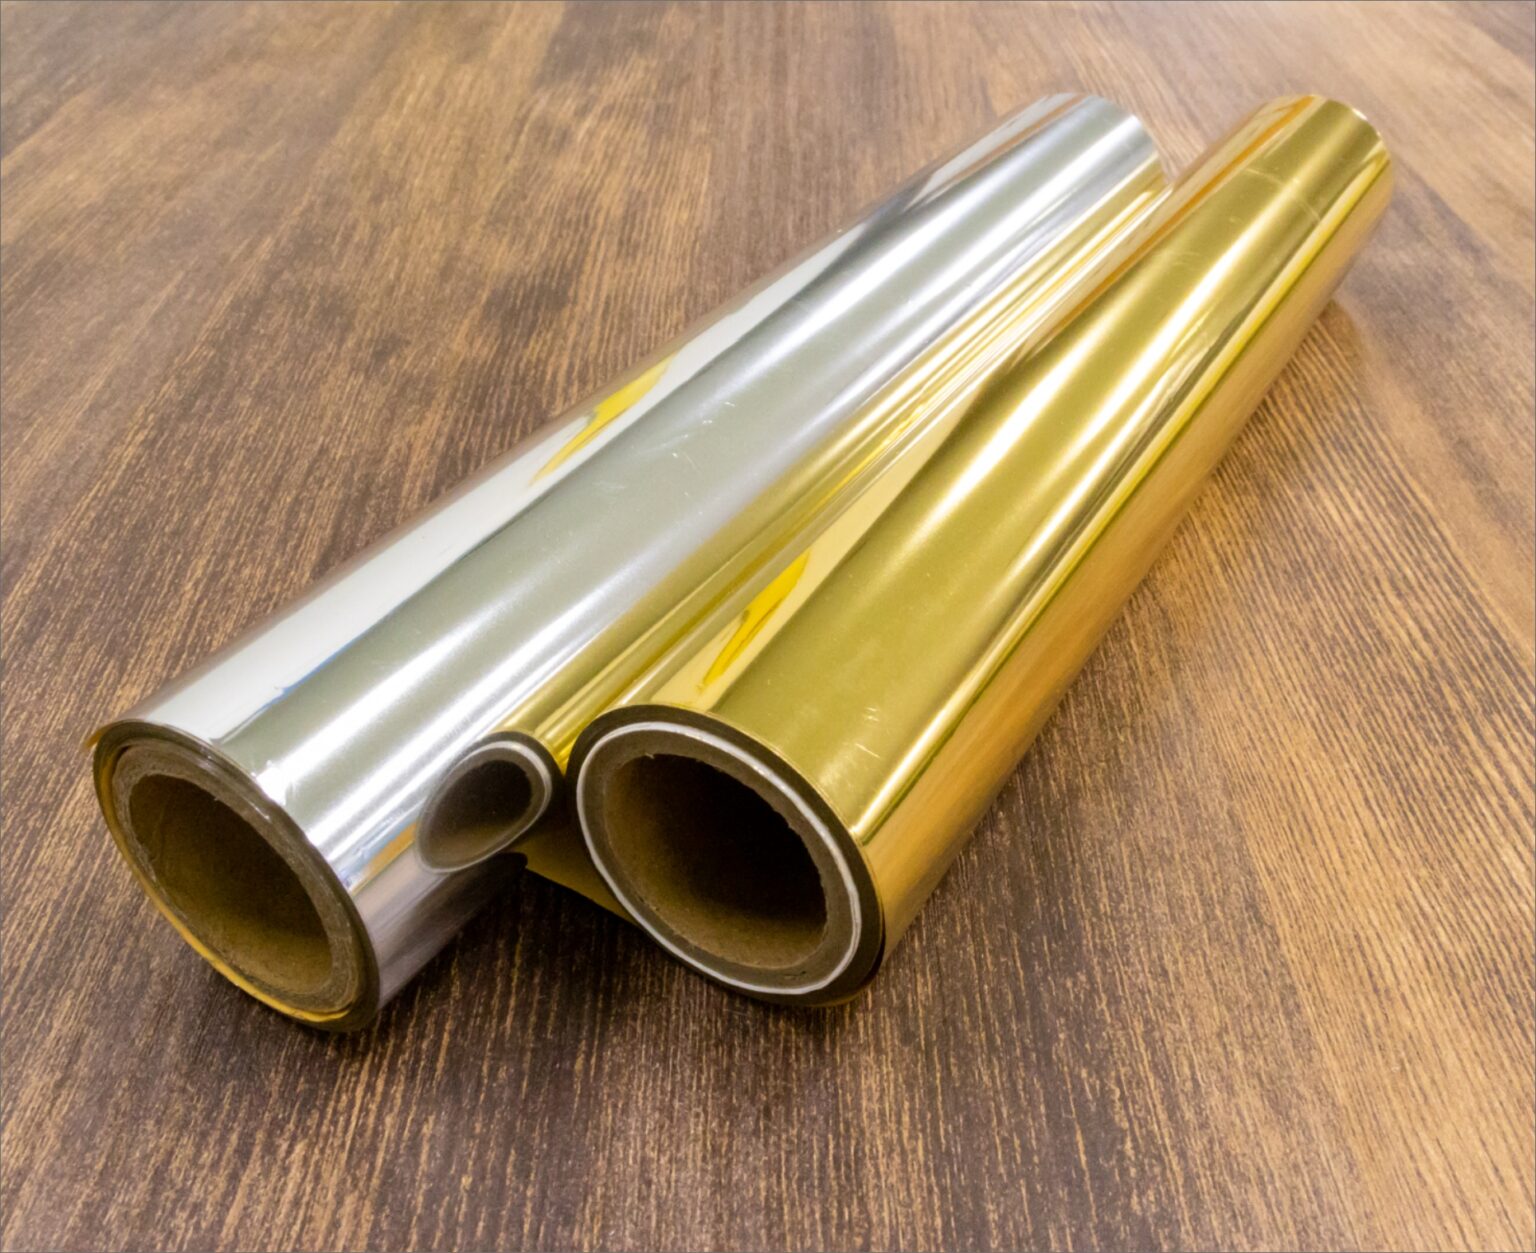
Metallic foil

Transparent sheets or tracing paper for aligning printed piece and foil
Production Process
-
STEP1
Design data production
Produce design data including both printed and foiling parts.

-
STEP2
Print & Cut
By outputting the design data from the VersaWorks to the MG-300, precision printing and contour cutting can be done automatically.

-
STEP3
Prepare sheets for positioning
Prepare transparent sheets or tracing paper with guides for positioning foil transfers to be aligned with the printed piece.

-
STEP4
Prepare LD-300
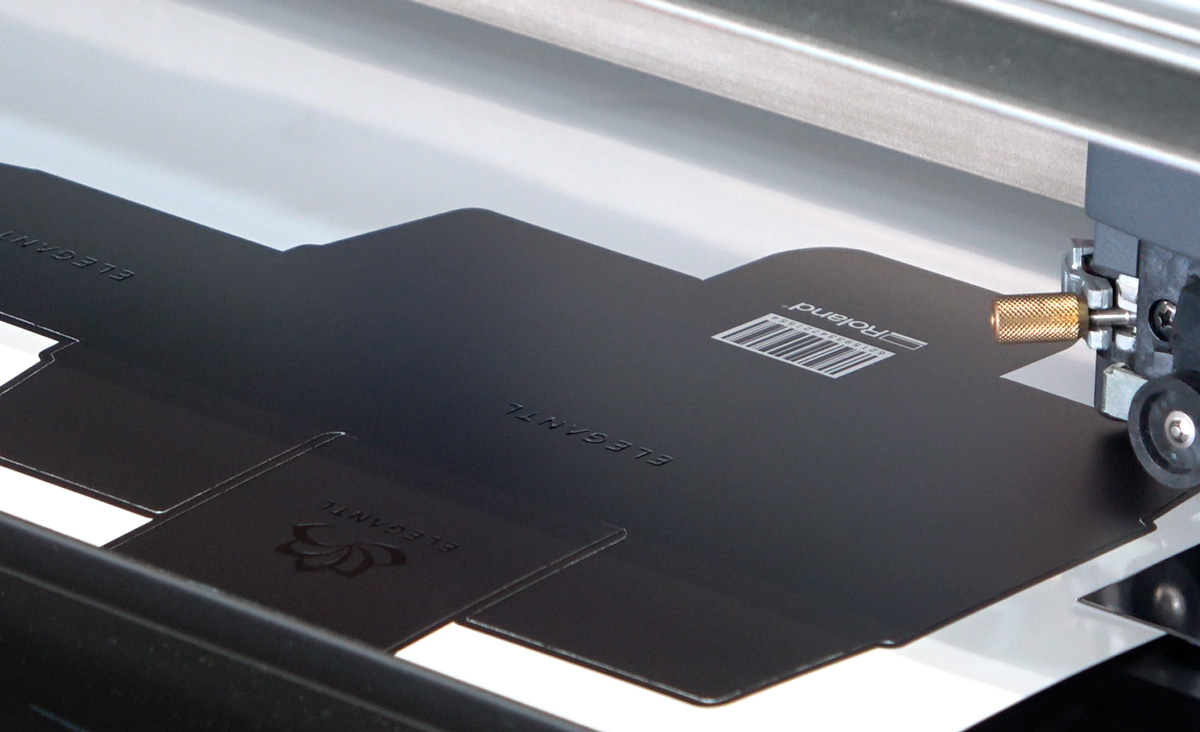
Import the design file for foiling to MetazaStudio. Use the alignment sheet to determine the foiling position by using the laser pointer equipped with LD-300.

-
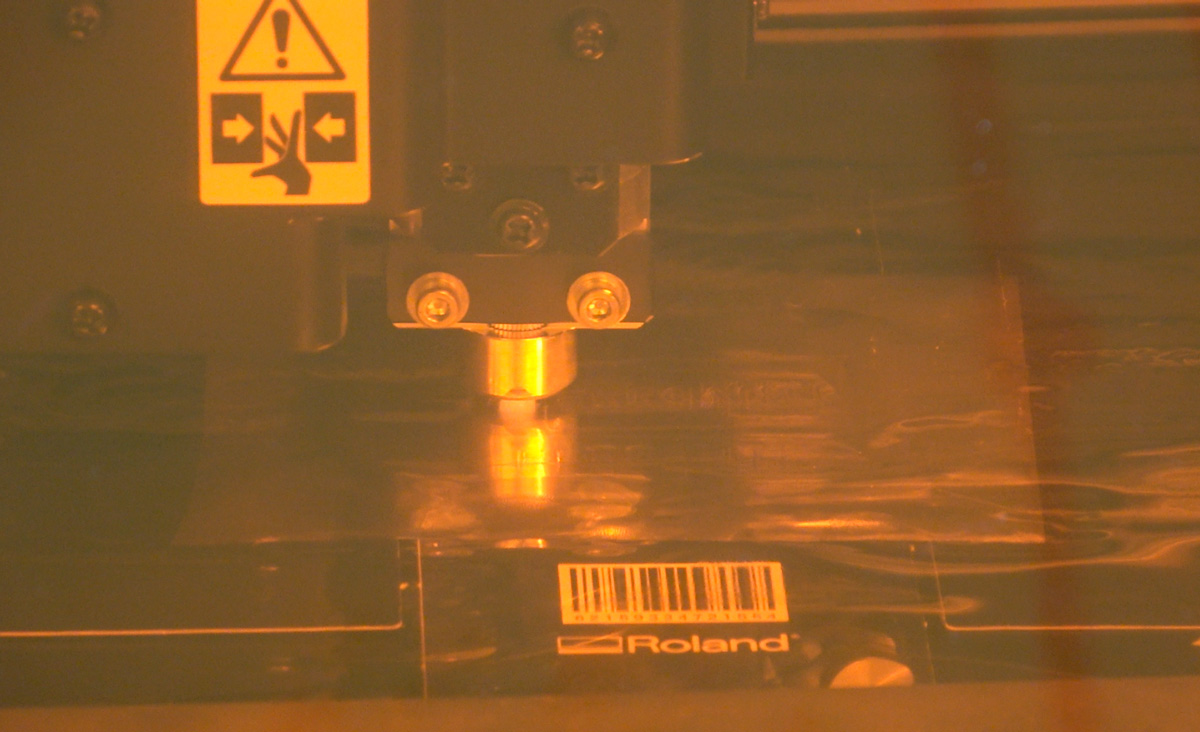
STEP5
Print the foil
Print the job with the LD-300.
-
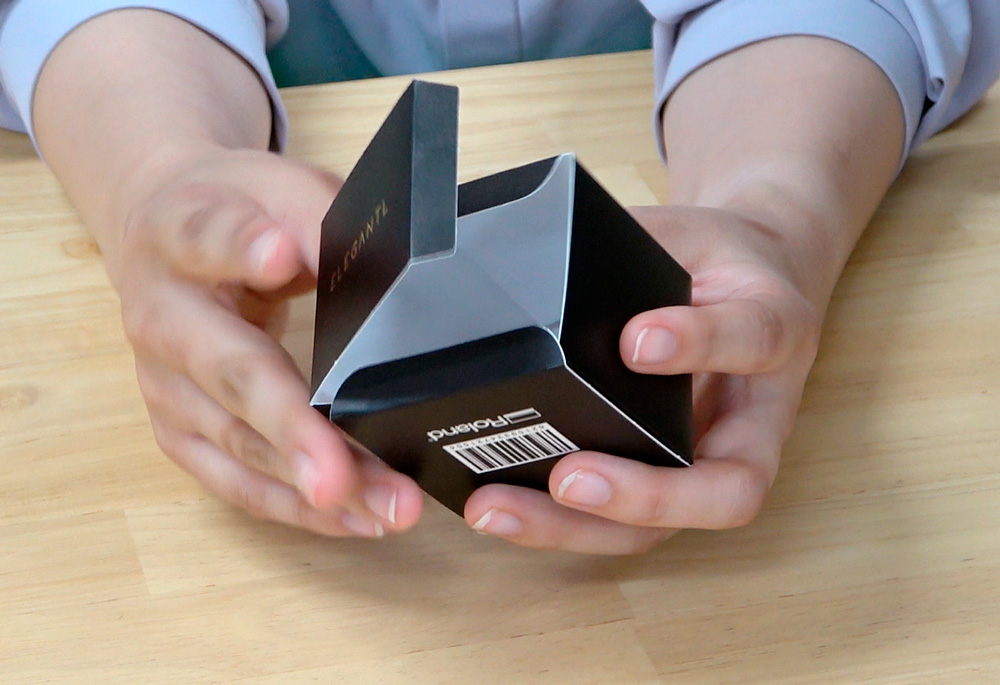
STEP6
Assembly
Apply crease lines to the output and assemble to complete.