Mass Customization with Direct-to-object Printing
Have you heard of the term “mass customization?” A manufacturing method that produces products in large quantities is called mass production. On the other hand, the strategy of optimizing products and services to meet the needs of individual customers is called customization or personalization. This includes services such as tailoring a product to a customer's personal color preferences or body measurements, or printing their name on a garment. Mass customization is the combination of these two contradictory terms. This is a production method that allows customers' individual preferences to be reflected in products while maintaining a high level of productivity.
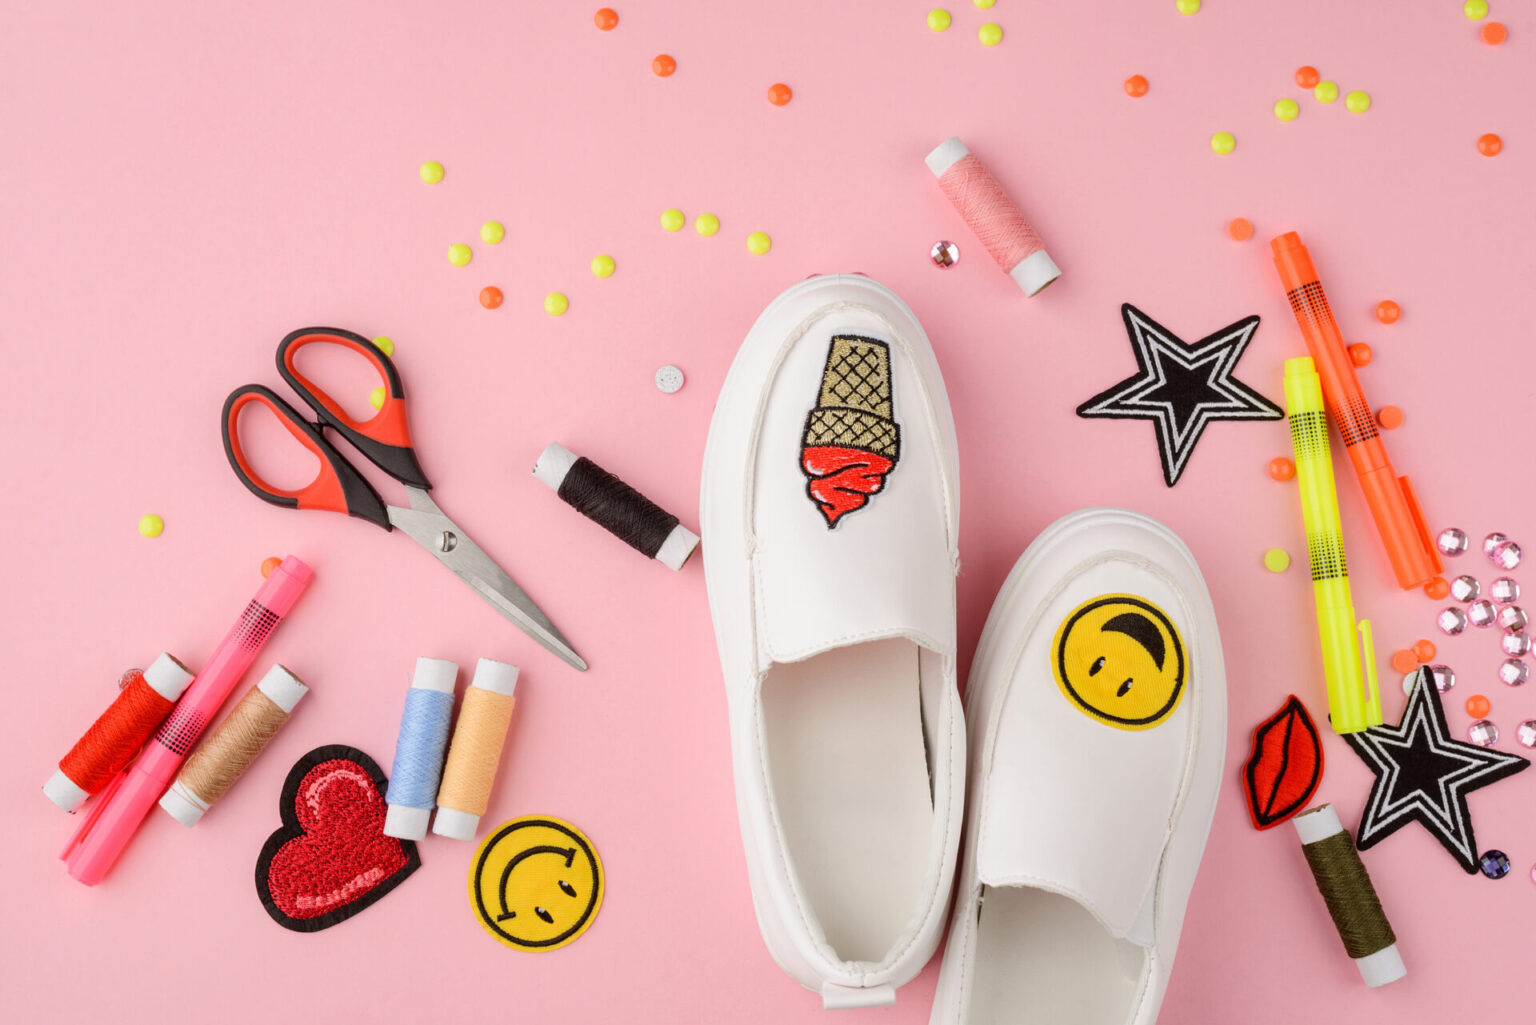
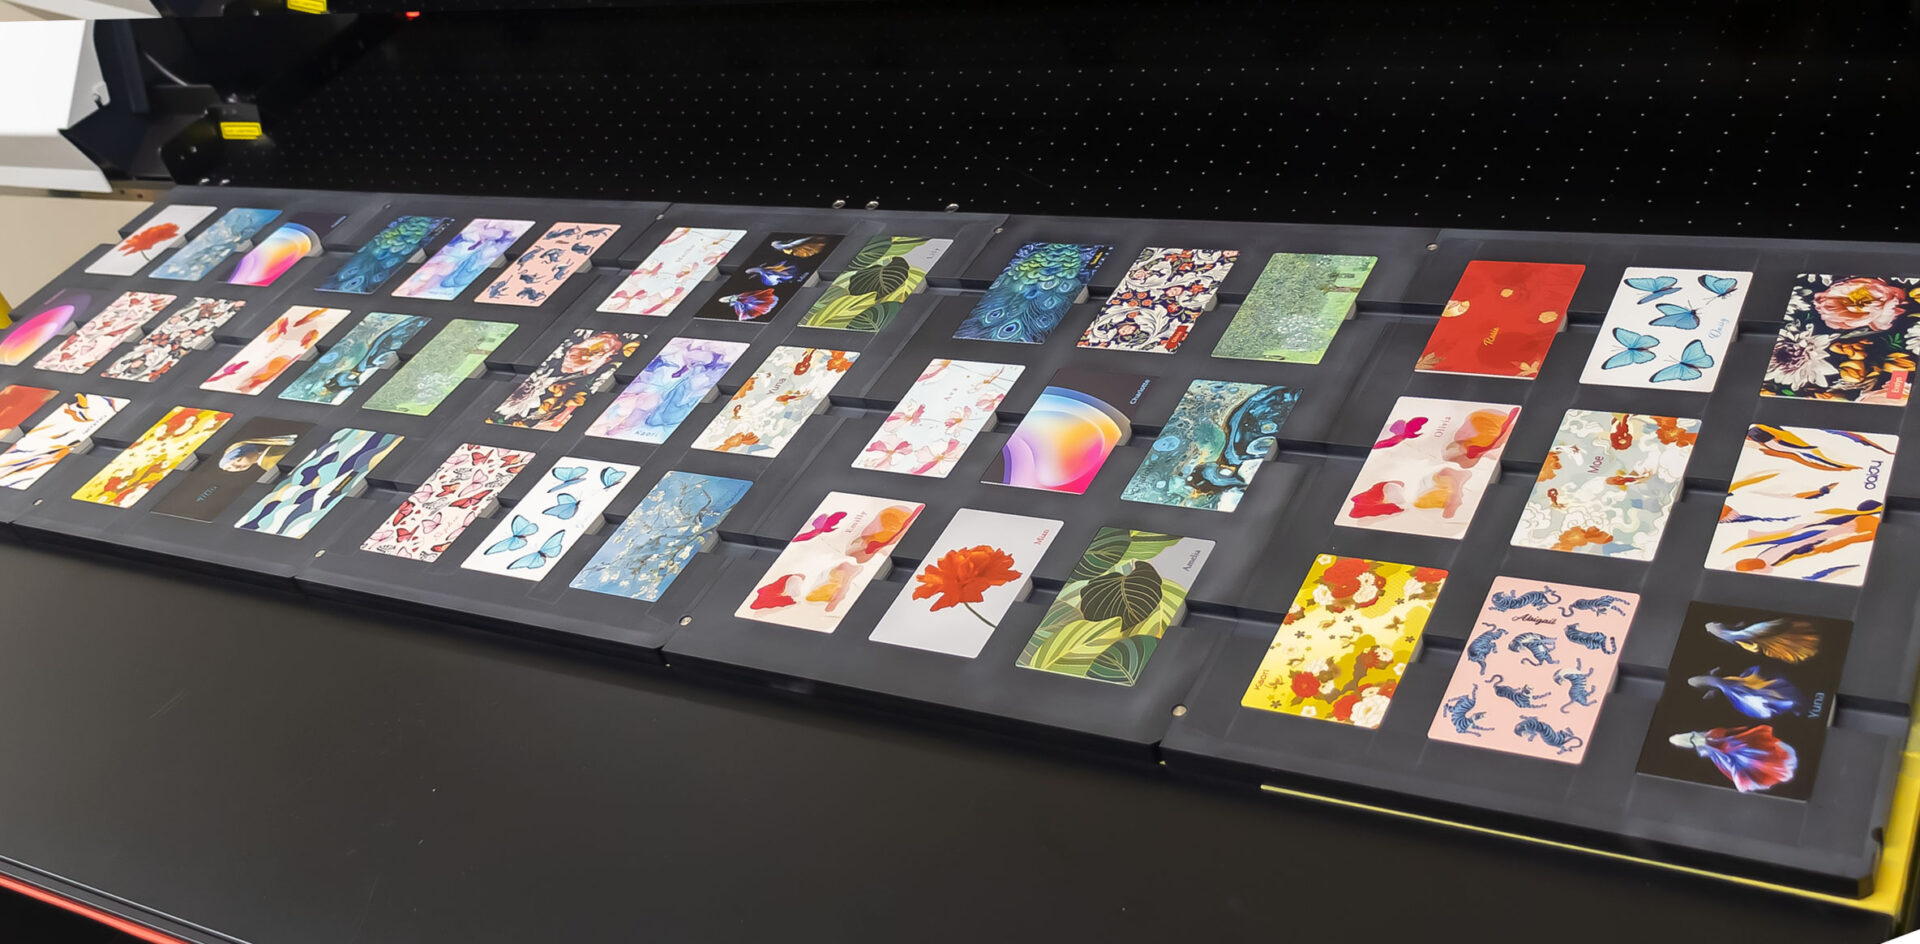
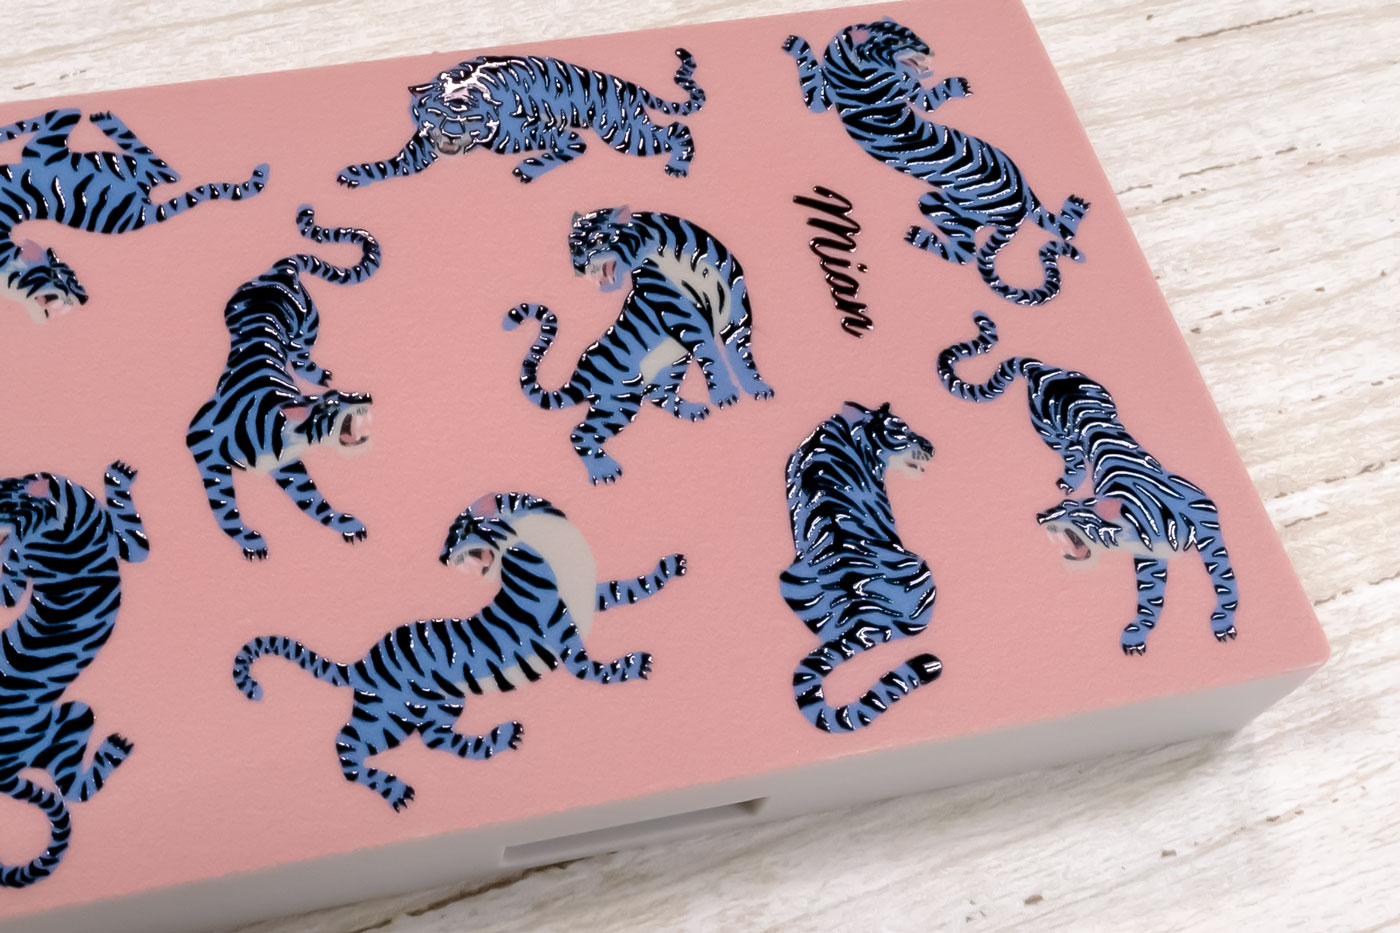
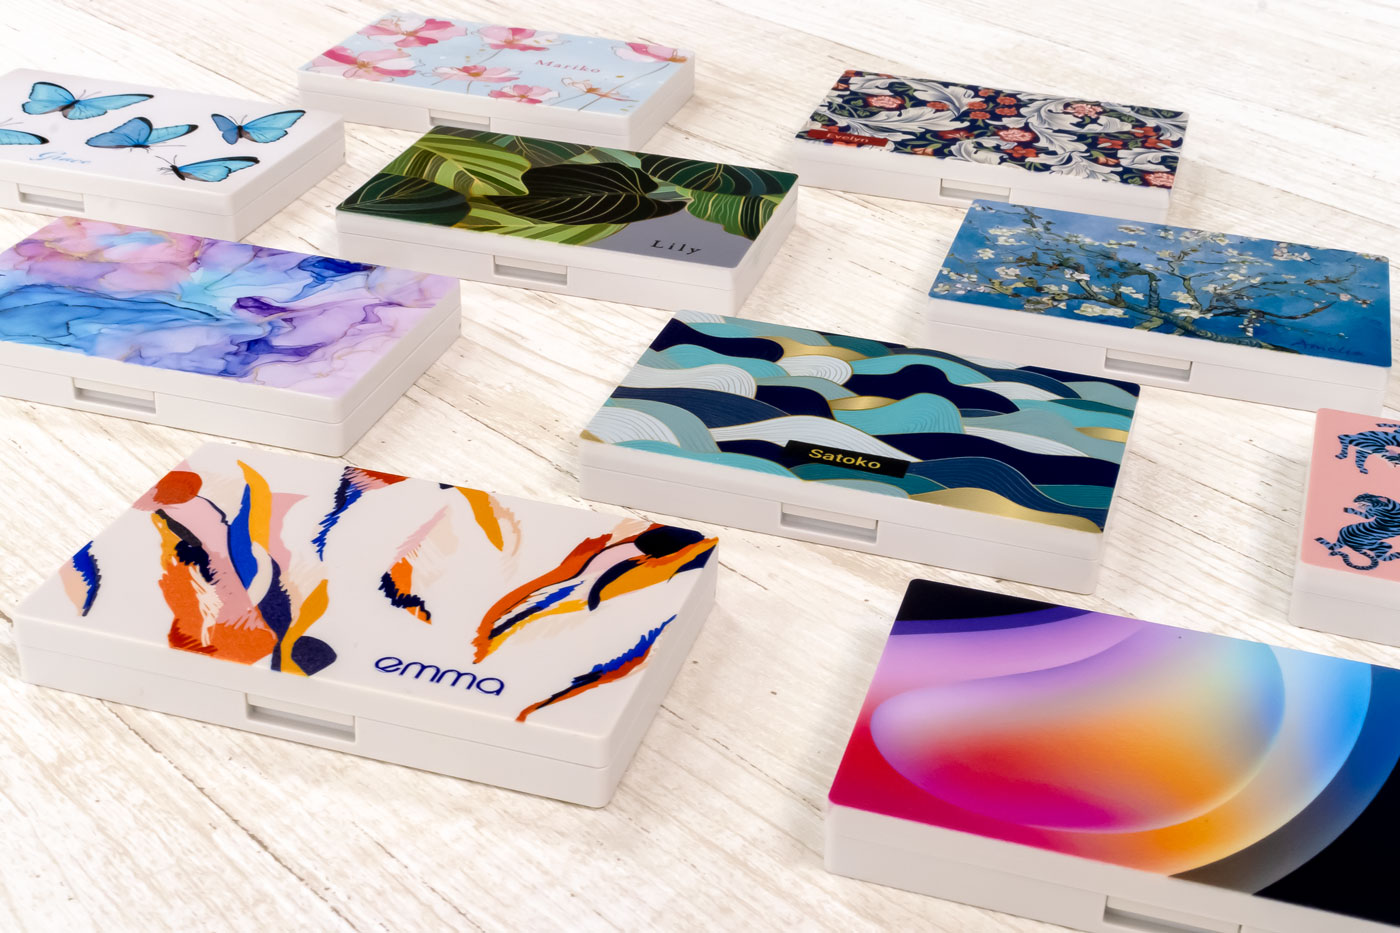
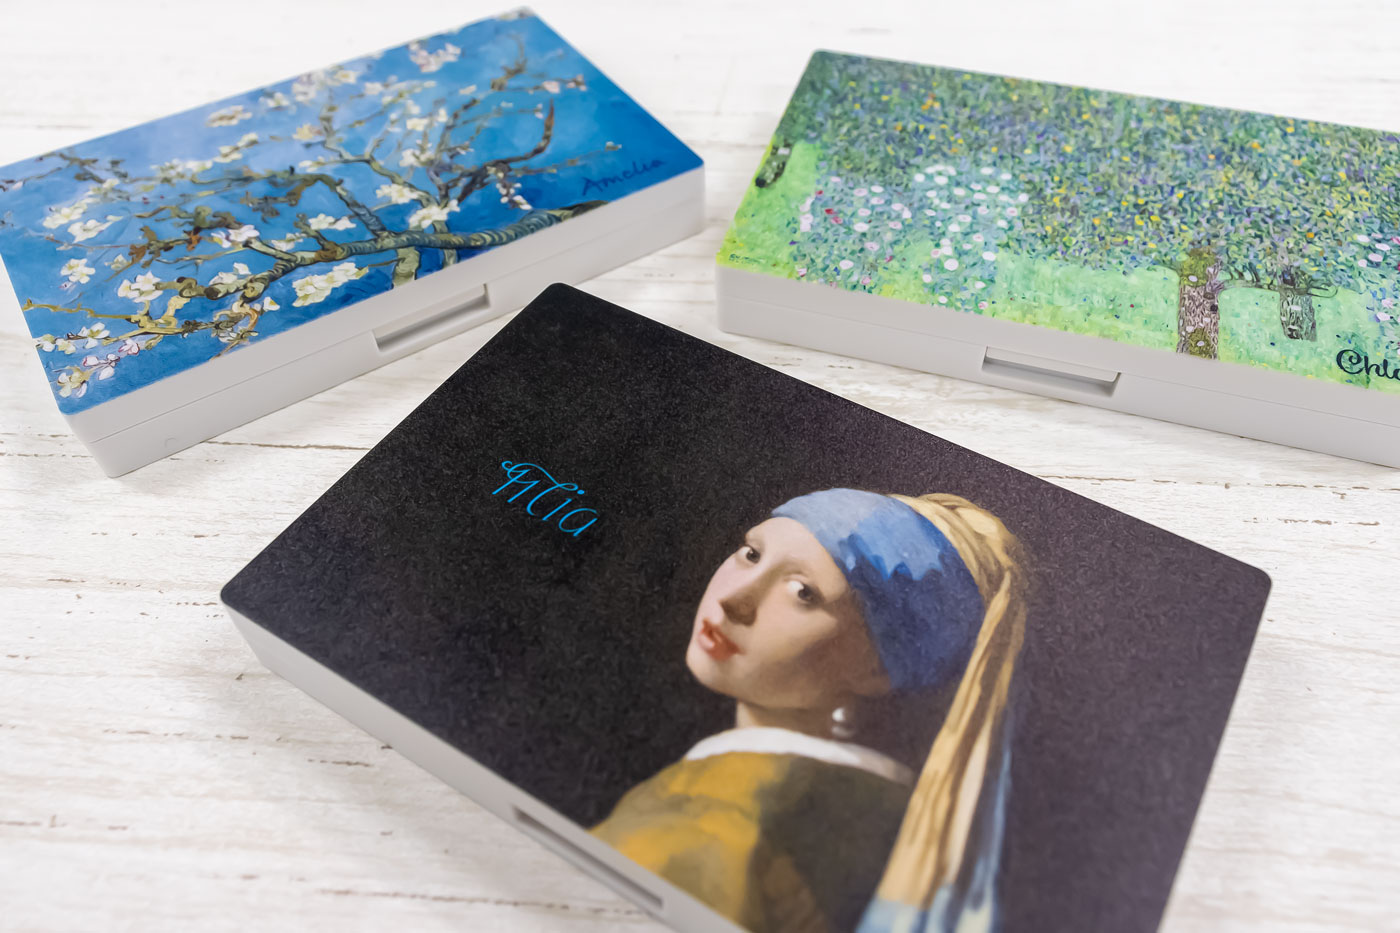
In this article, we will introduce a solution for mass customization by directly printing individual names and designs on individual cosmetic palette cases all produced at the same time in mass production.
Solution Overview
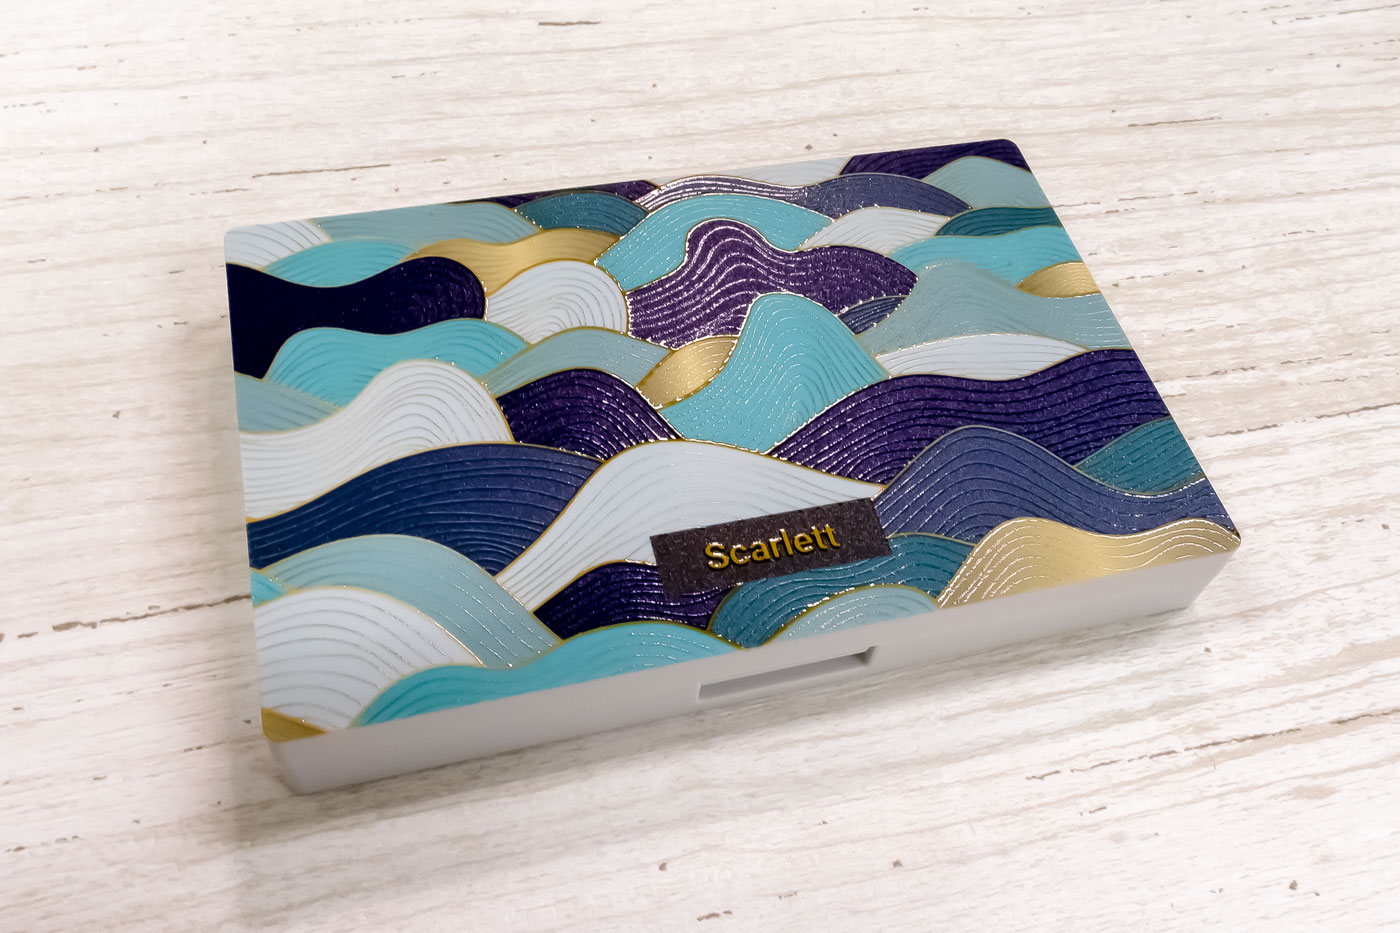
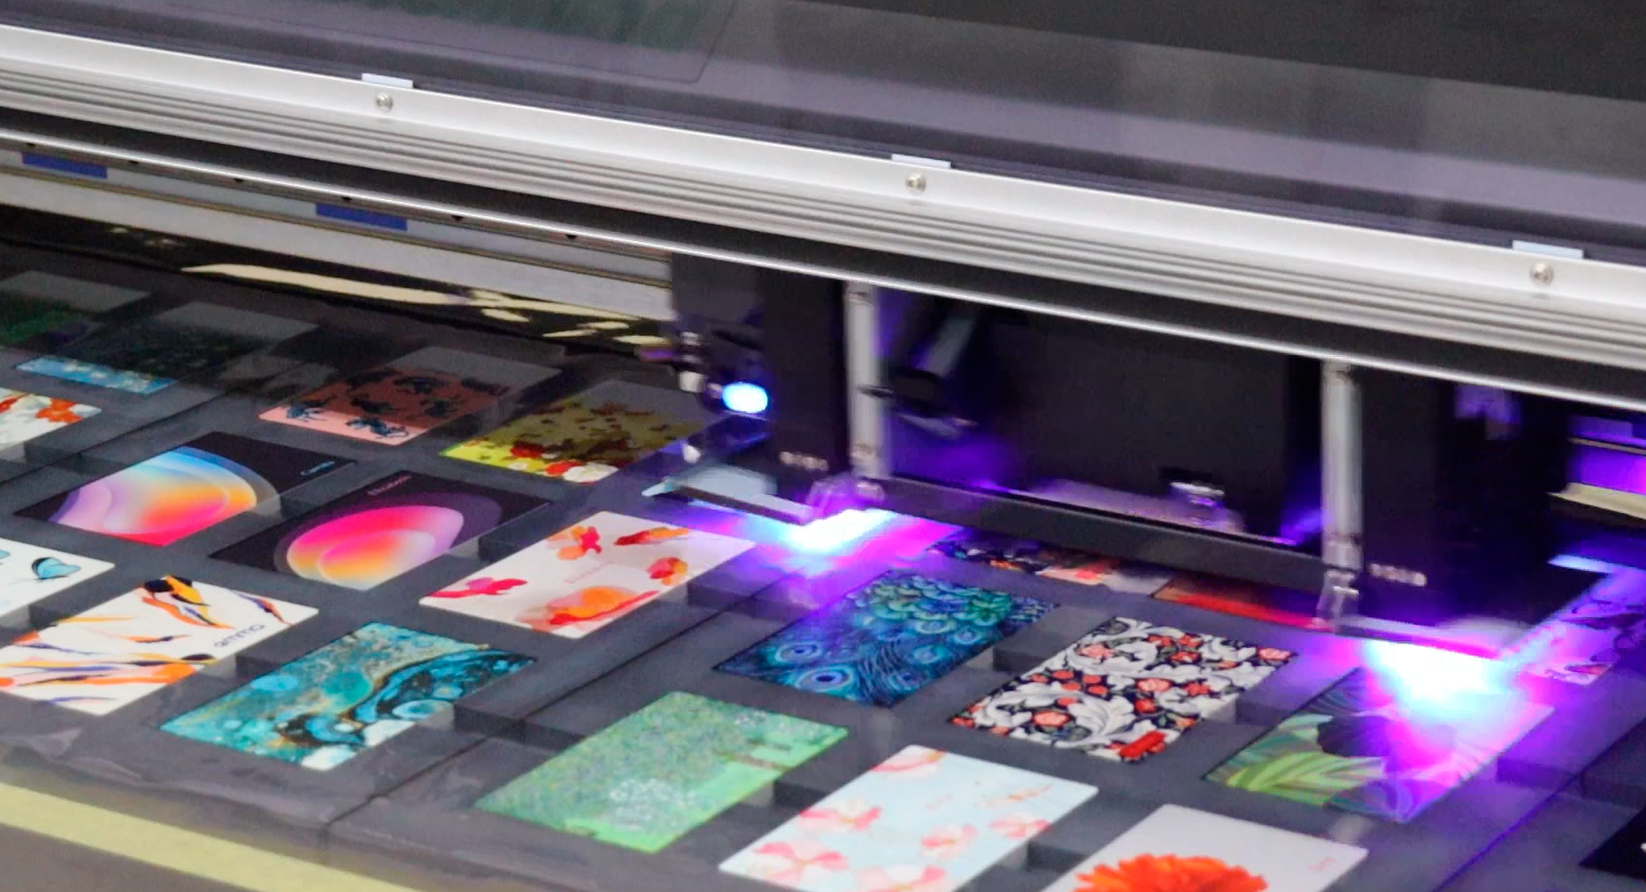
Large-format flatbed inkjet printers using UV curing ink technology can print directly on three-dimensional objects, and if the products or parts to be printed are laid out on a flatbed table, production efficiency can be maintained at a high level. The printer used in this project is a Roland DG LEC2-640 with a large format flatbed mechanism. Depending on the material to be printed, ECO-UV EUV5-5PR (primer) ink, which is included in the printer, can be printed for pretreatment in order to enhance the adhesion of the UV ink. The product printed is a cosmetic palette case made of ABS resin sold at retail locations such as MUJI. The UV inks tend to adhere on ABS resin very well, so primer pretreatment is not always necessary. The printing surface can also be overcoated with spot varnish to improve abrasion resistance and also add tactile effects to enhance the design uniqueness.
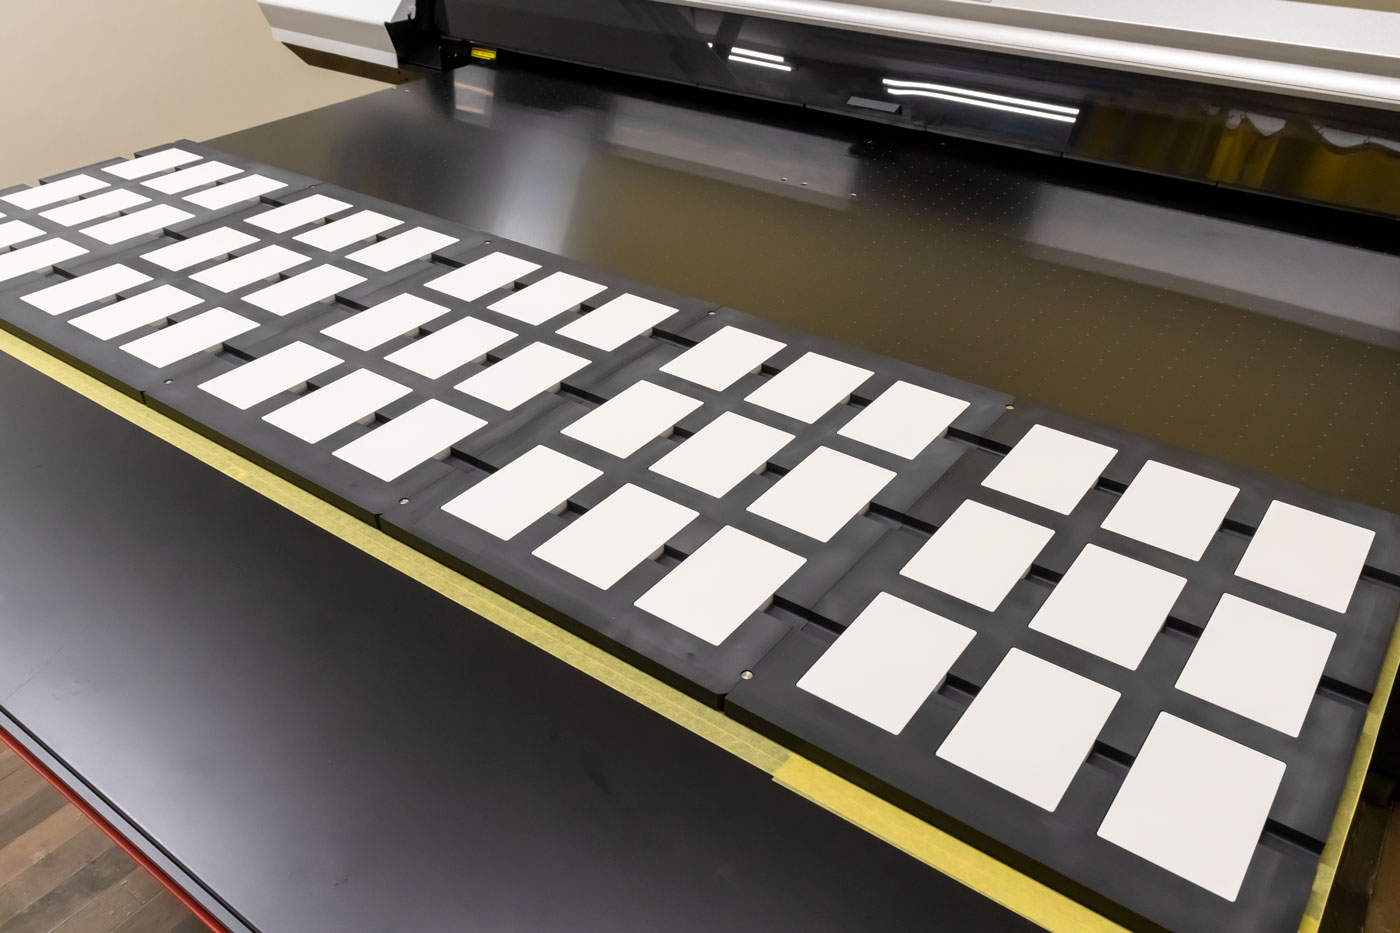
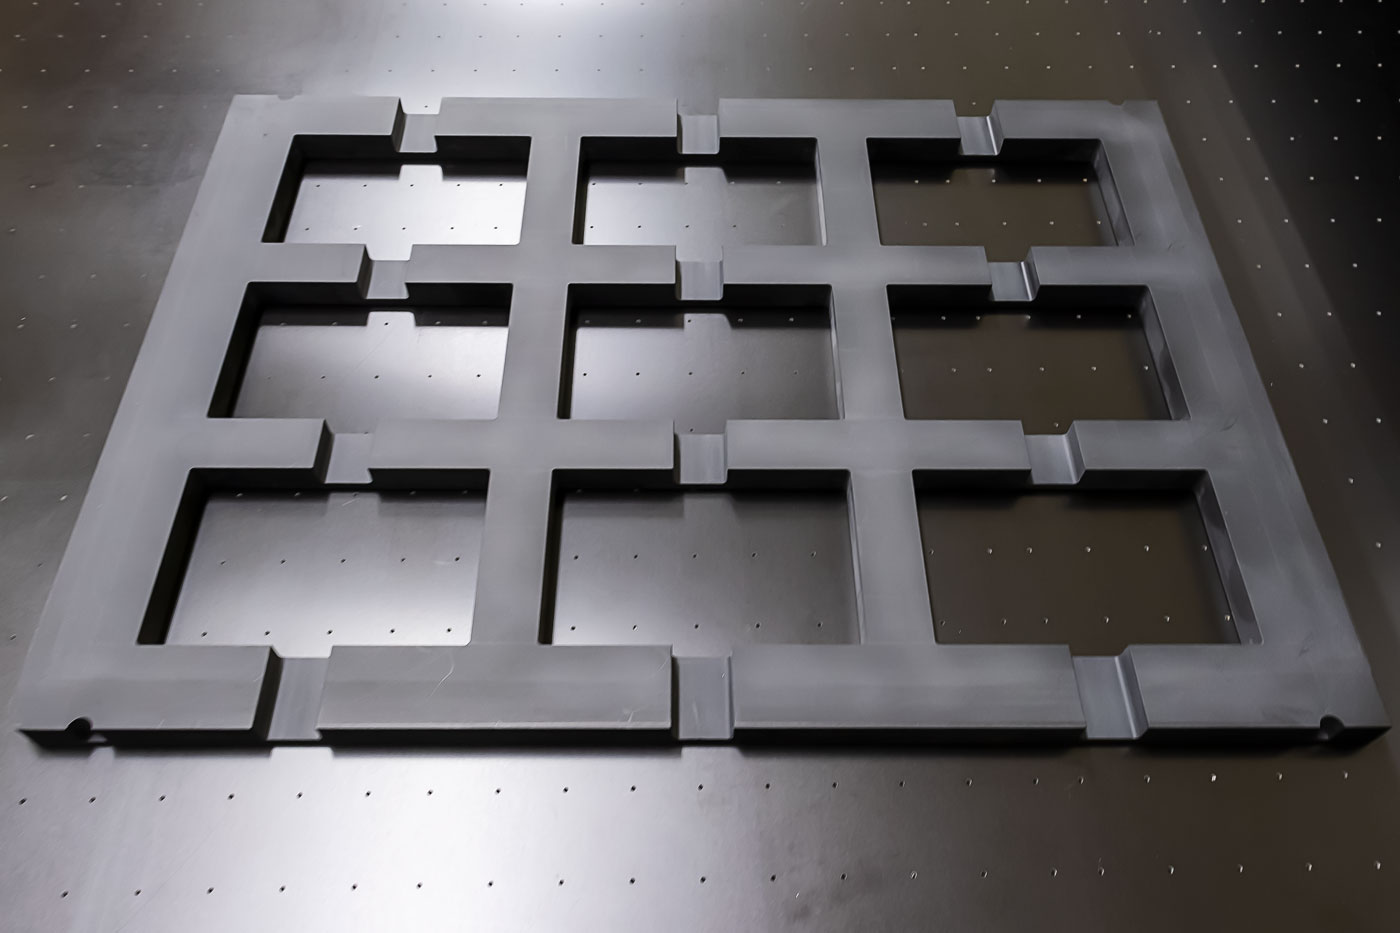
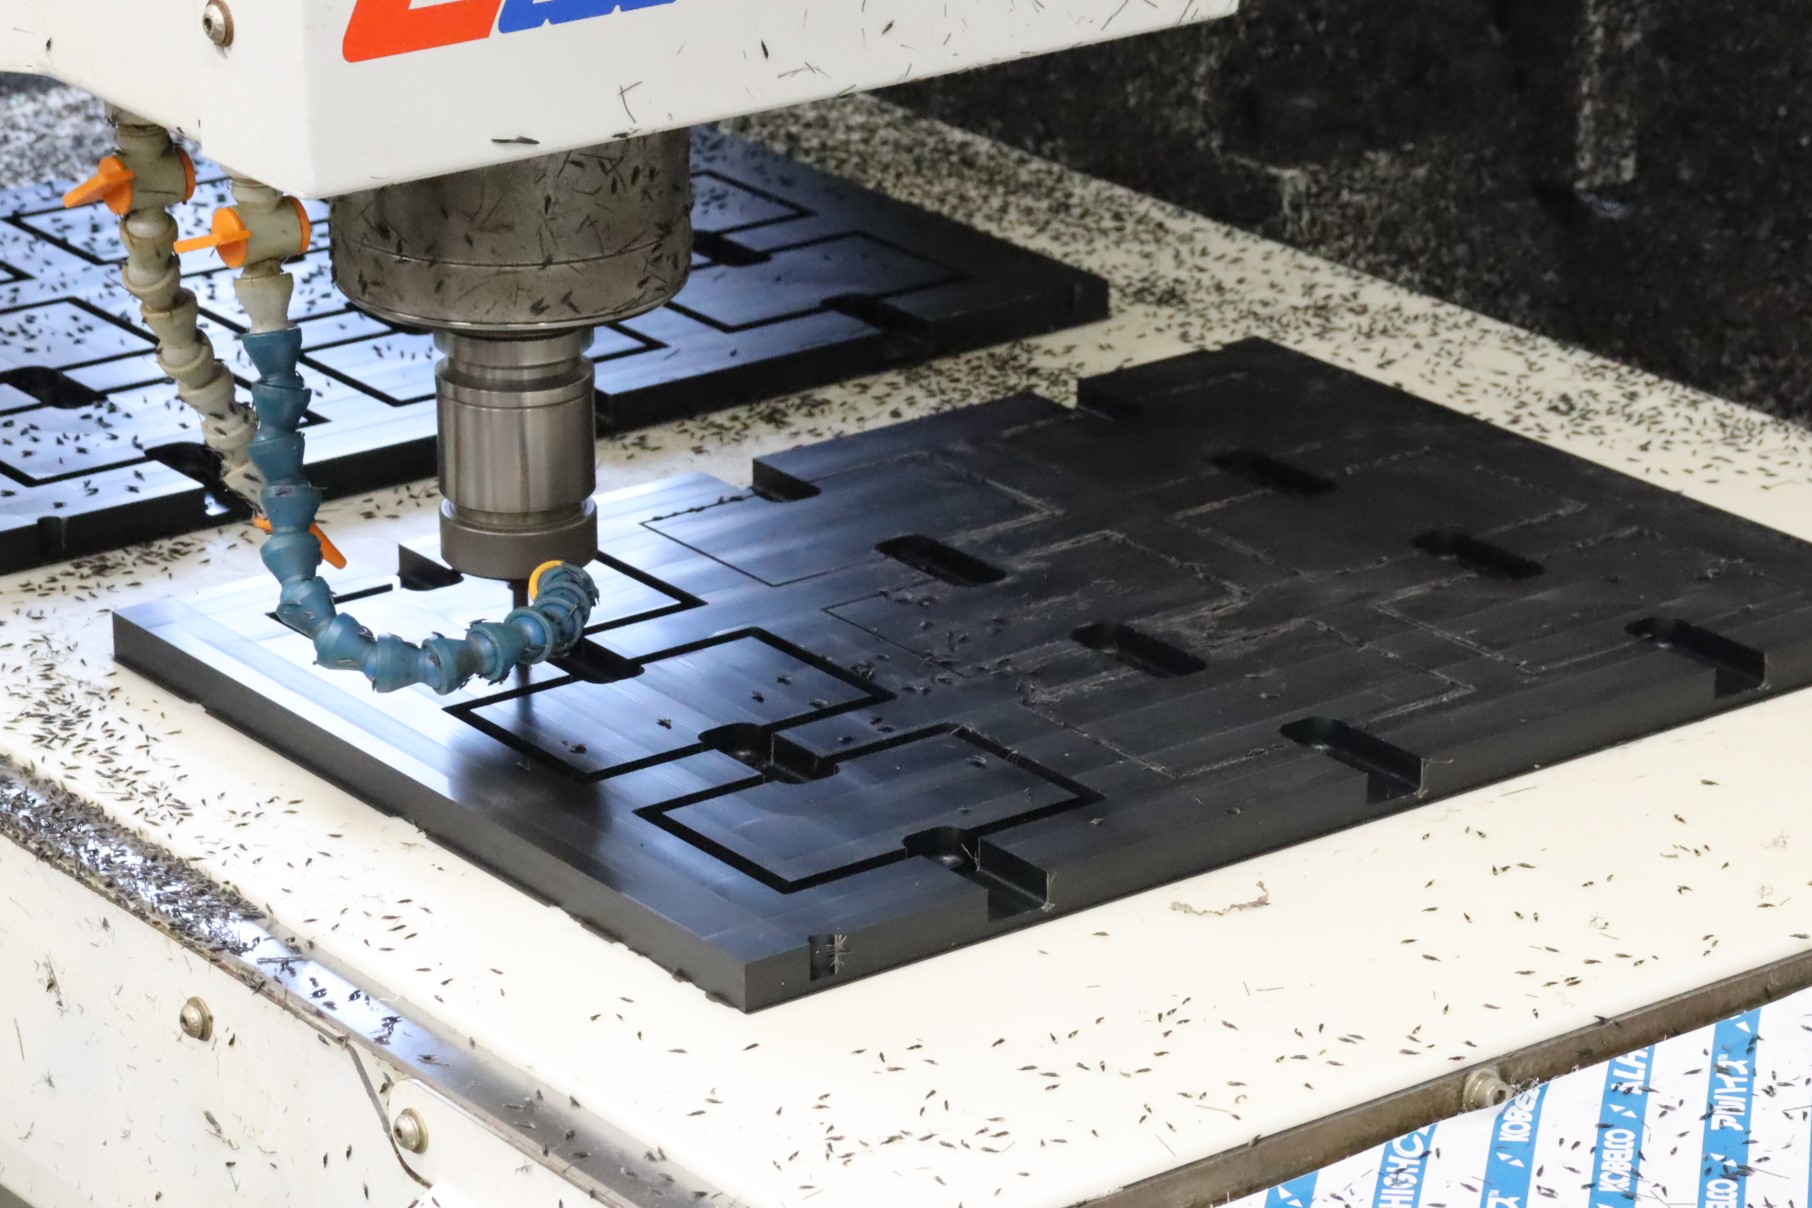
An important factor in improving production efficiency is the existence of a jig that enables the same placement of products to be printed each time. With a jig, the position of the products to be printed on the flatbed is secure, eliminating the need to adjust the printing position each time the products are replaced, thereby dramatically improving production efficiency. The jig can be manufactured by CNC router to match the shape of the product to be printed. In this solution example, a specialized jig was prepared by Tanizaki Factory Corporation in Hamamatsu City, Shizuoka Prefecture in Japan, which provides jig fabrication services. In-house production of jigs is possible if you have a CNC router, but if you are not familiar with the process, outsourcing is an effective means of production.


For producing the jig, allow a little room for the shape of the product to be printed, and cut a take-out opening for easier operation. The thickness of the jig should be slightly thinner than the thickness of the material. Place the jig on the flatbed of the printer and position the product. Printing data is laid out according to the dimensions of the jig, a print test is performed, and the position is fine-tuned in the data before printing.
What you need
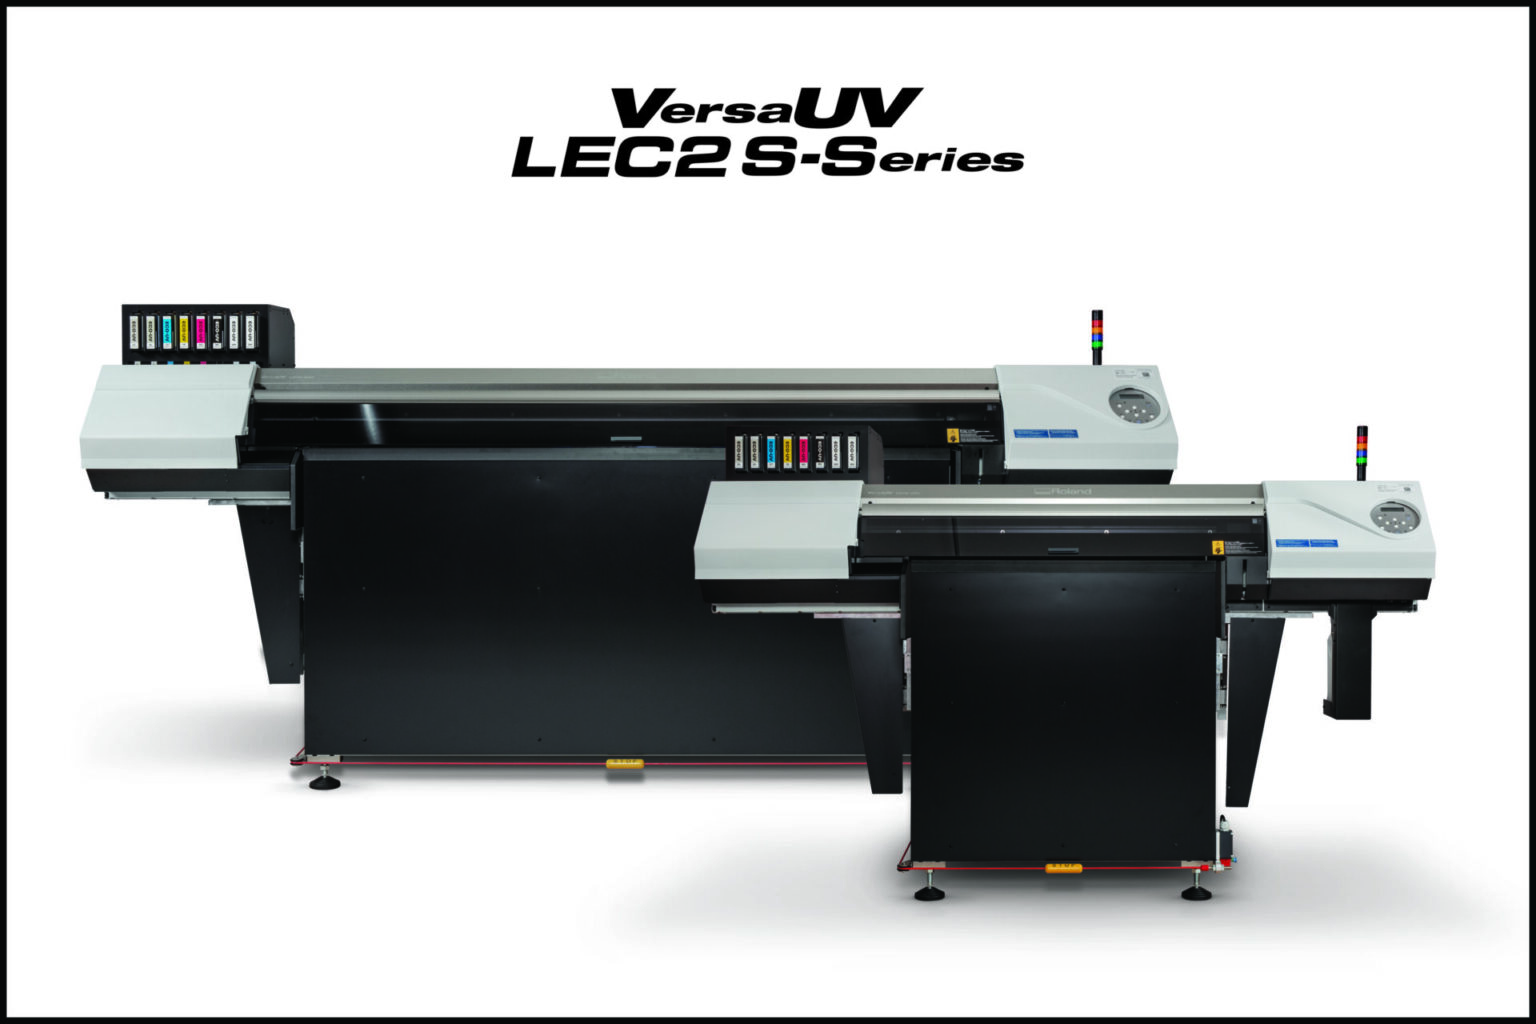
LEC2-640 S-series UV Inkjet Printer
Printing jig
VersaWorks 6 RIP & Print Management Software(included with the LEC2-640)
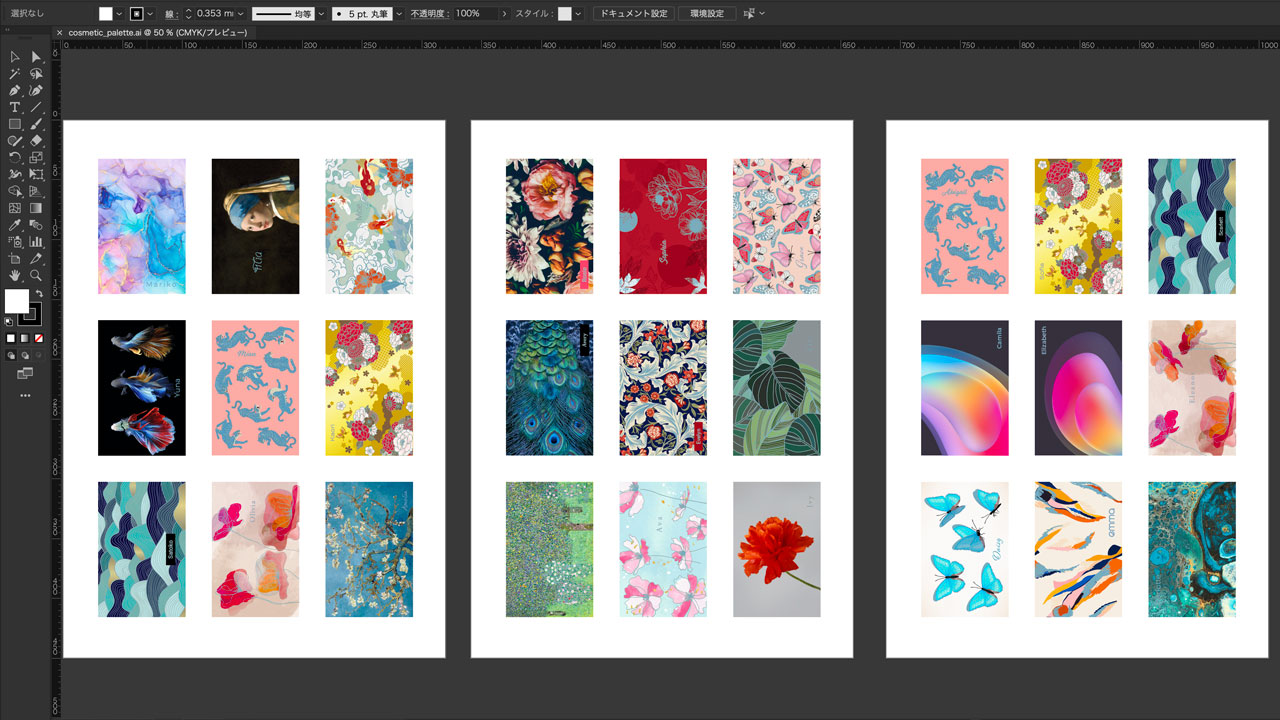
Design software such as Adobe Illustrator or CorelDRAW
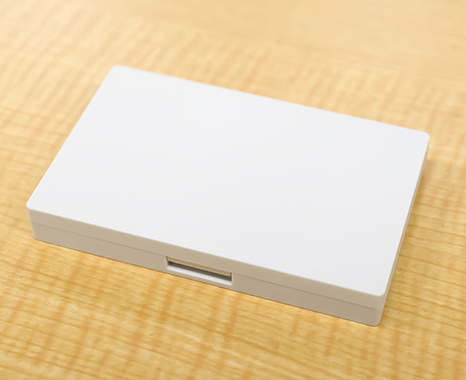
Products to be printed (Makeup Palette)
Production Process
-
STEP1
Production of printing jigs
Manufacture a printing jig with the dimensions of the makeup palette to be printed and with specifications that allow printing of multiple pieces at once.

-
STEP2
Design data production
Prepare print data as per the layout of the printing jig.

-
STEP3
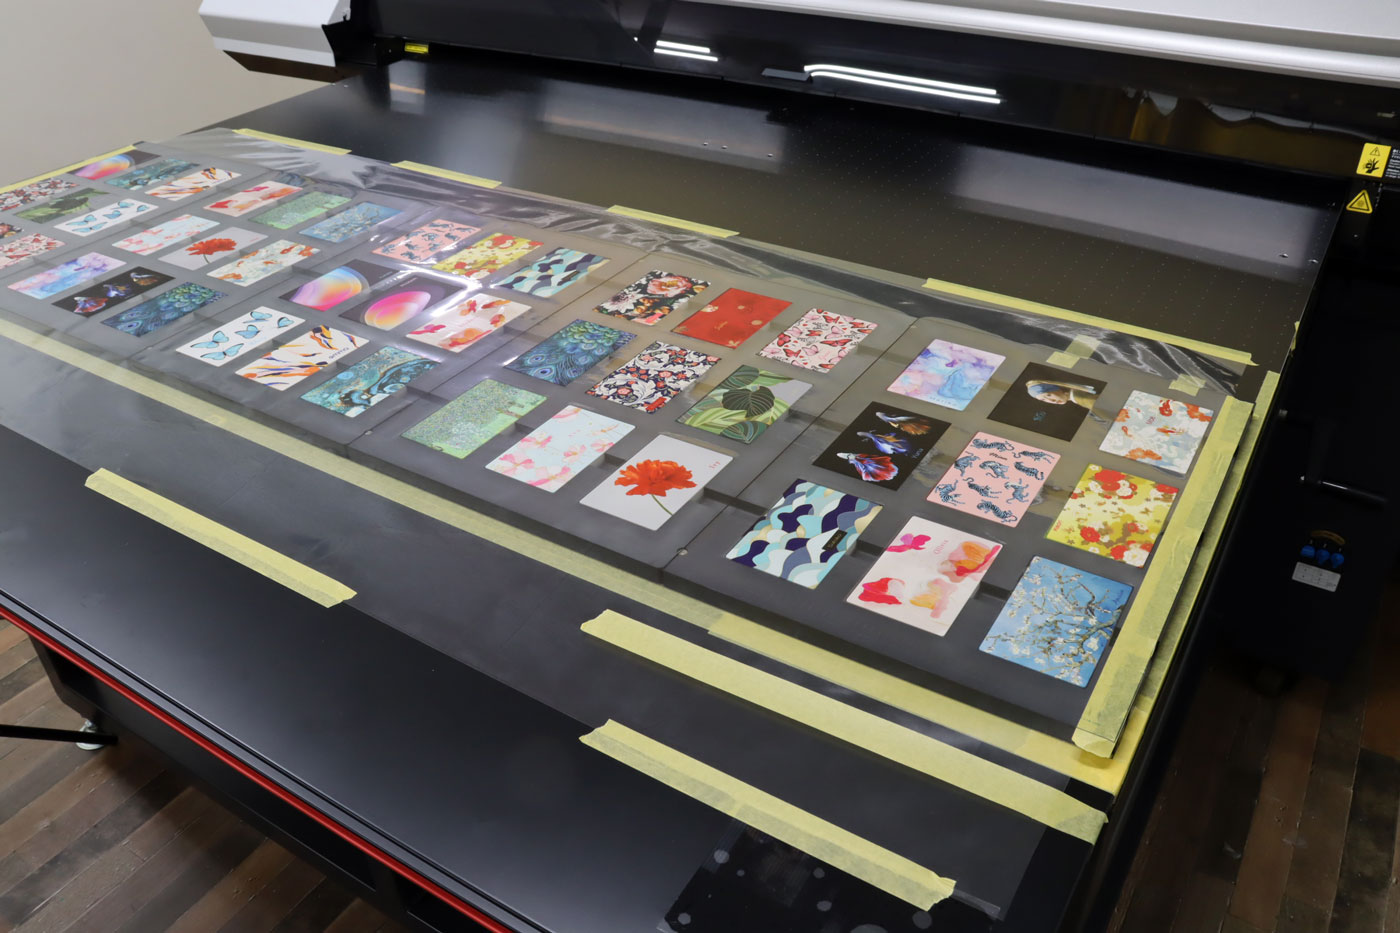
Install the printing jig on the printer
The printing jig is placed on the table of the UV flatbed printer, and the makeup palettes to be printed are situated.

-
STEP4
Adjust print position
Cover a transparent sheet over the printing jig and conduct a print test. If there is a discrepancy in the print position, fine-tune the position in the data file. Repeat this process to determine the correct position.
-
STEP5
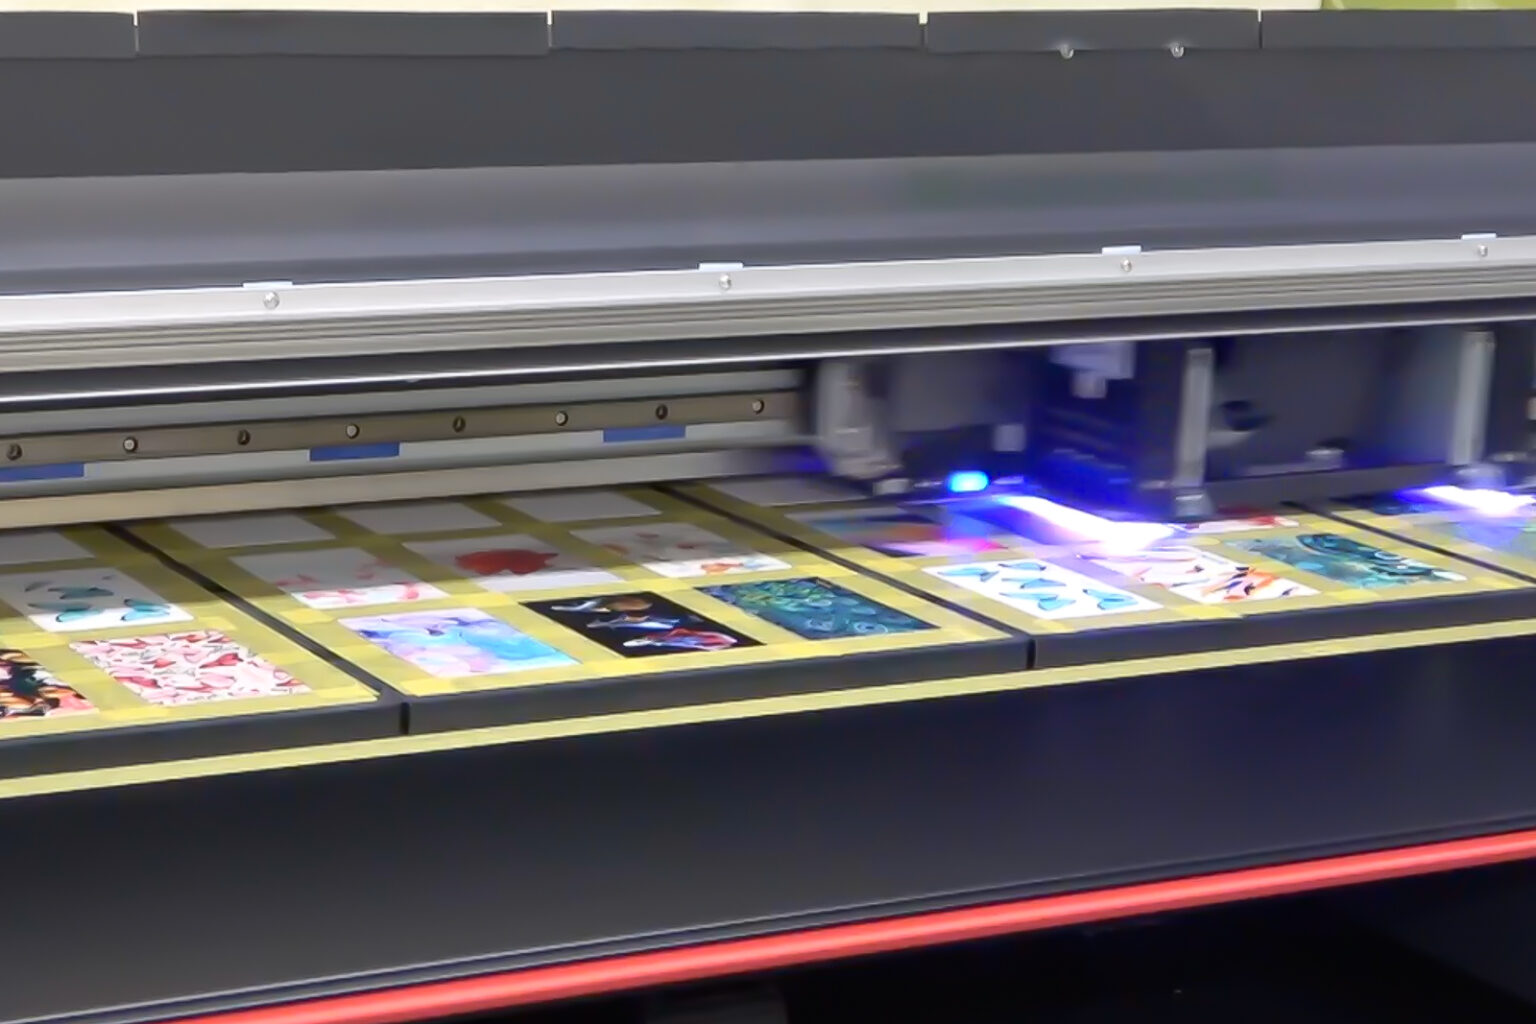
Print
Print CMYK and spot varnish for a simulated embossing effect


ソリューション事例: Packaging
さらに表示-

Packaging
Cog’s Secret Methods of Turning Attractive Package Designs into Reality
-

Packaging
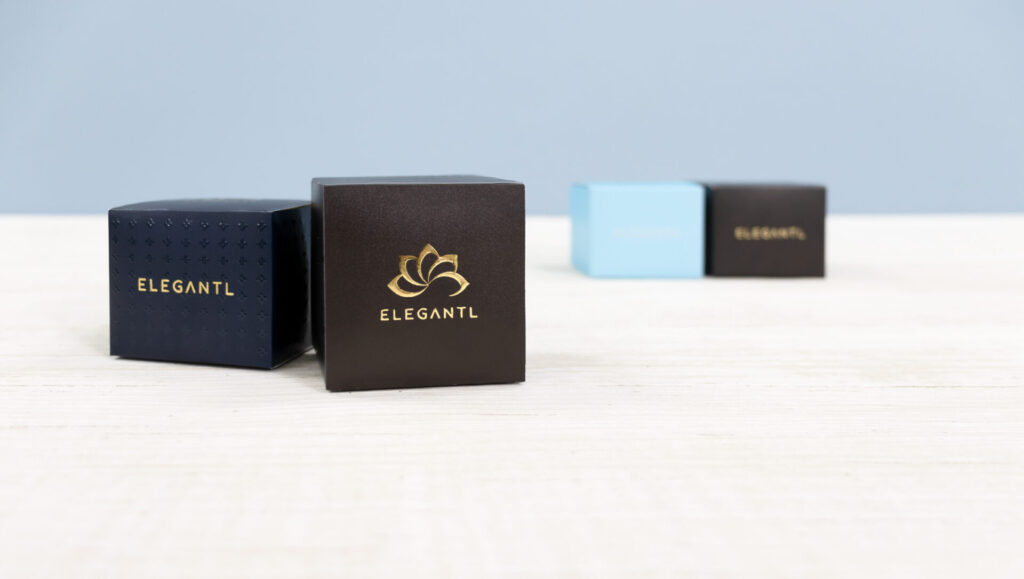
How to Quickly Produce a Variety of High-end, Foil-stamped Package Prototypes On Demand
-

Packaging
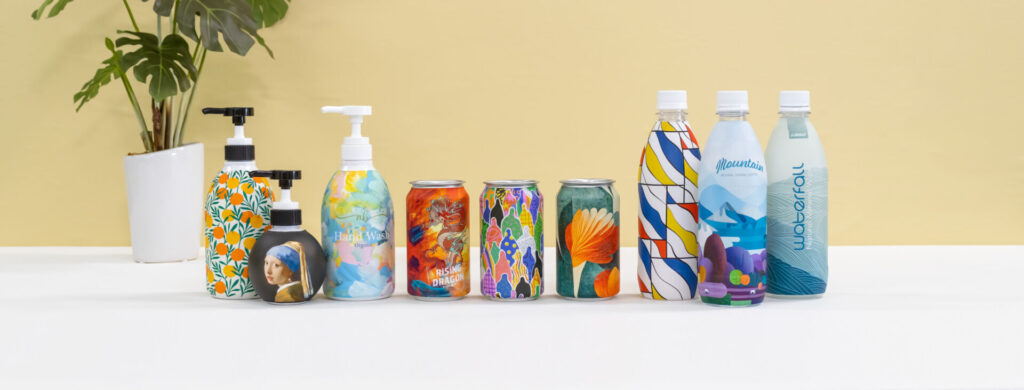
Mock-up Production of Shrink-Wrapped Packaging Using Flexible UV Ink
-

Packaging
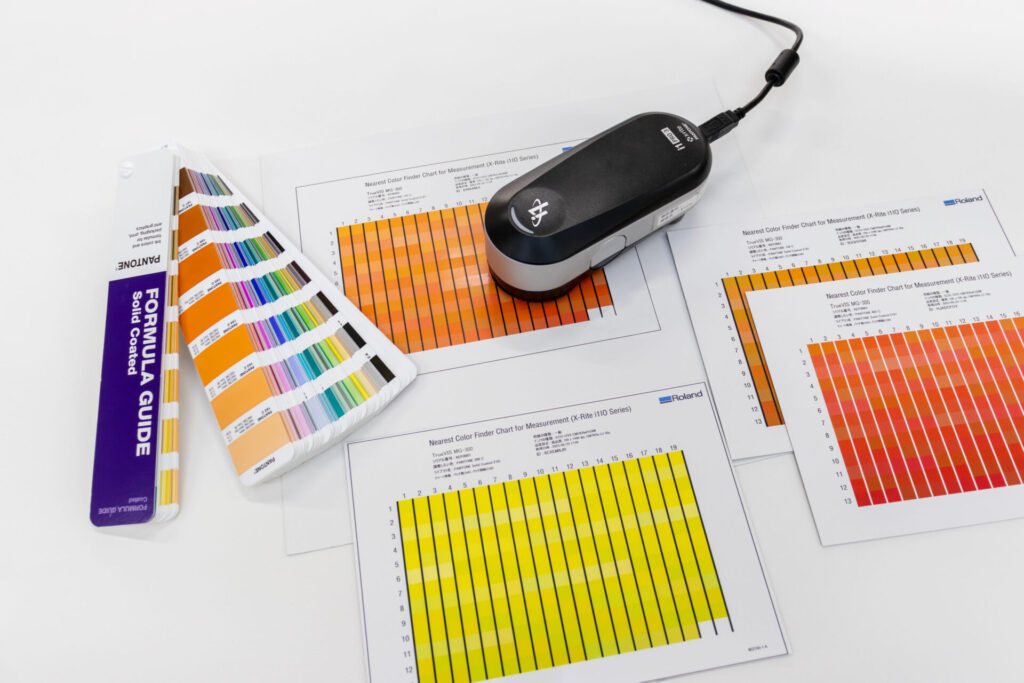
How to Easily Match Brand Colors with Pantone Specifications